Leaderboard


Popular Content
Showing content with the highest reputation on 07/16/19 in all areas
-
A screenshot from Shadows of Northdale Act 5 (and my first on the new forum!). Corbin will be venturing across the Northdale river to break into the infamous inventors guild.9 points
-
I've been doing a lot of fantasy illustrations lately, and just finished a piece that seemed appropriate to share with the forum...it's a slightly more medieval take on TDM's citywatch. I'm currently selling stock illustrations on DriveThruRPG, so if you know anyone producing fantasy material who is looking for illustrations, the stock art there is a really great resource. My page is here: https://www.drivethrurpg.com/browse/pub/14731/Mindplaces3 points
-
Looks promising, a reminds me of Dunwall a bit2 points
-
Oh, some interest? I should make a video, but will get around to that later. For now I'll try my best to talk through the steps. I'm exporting from 2.69 but whichever version supports the 'Quake MAP' exporter, should be all the same. _________________________________ --> On the right-hand tool panel of the 3D view, under 'Display', set the grid scale to 0.64 with subdivision of 8. --> Create a plane, go to 'Edit Mode' and 'Subdivide', then CTRL+T to triangulate. (instead of scaling your plane (before subdivide) use 'Dimensions' (under Transform) and set X and Y to "81.920"). --> Displace & Sculpt (etc) as desired... (keep in mind you can do these first steps in any software, so long as the grid is the same, which is very important). (above I used a heightmap and 'Displace' modifier, but only a little sculpting, but there are plenty of other ways to deform your mesh). (be sure to click 'Apply' on the modifier when you're happy with it so it actually takes). (stay within 4096 units from origin (=40.96) because 'Q3toD3' doesn't seem to like anything bigger than this (*needs more testing!)). (workaround is to just split your terrain into pieces and export them separately)... --> Edit Mode > select all > Edges > Edge Split. --> Select all faces in Edit Mode and 'Flip Direction'. --> Go to side/front view and 'Extrude Region' down. (you've essentially just turned your deformed plane into individual solid (8-poly) objects = brushes). --> Select all bottom vertices and scale 0 on Z axis. (S > Z > 0). (*make sure you're using grid snapping and all vertices below align with the above). --> Set grid scale to 'a decimal left' (=0.064). --> Snap all vertices to grid. (select all vertices > SHIFT+S > Selection to Grid). --> Tris to quads. (select all faces and ALT+J). --> Select all in Object Mode and CTRL+A to actualise. (Location\Rotation & Scale\Visual Transform). --> Select all in Object Mode and go to File > Export > Quake MAP (.map). (check 'Grid Snap' and click 'Export MAP'). (if all goes well, you now have a .MAP file with your brushes from Blender!) --> Use 'Q3toD3' to convert your MAP file into the Doom3 format. (http://www.violationentertainment.com/files/software/q3tod3+gui.zip). --> Open the MAP file in a text editor and change 'version 2' to 'version 3', remove worldspawn name and other comments. --> CTRL+H to replace " 0 0 0 with ", so the trailing 'tokens' on each brush are removed. --> Remove the last entity entries, so the file ends at the final brush and the bottom of the file ends with 3 }s. (3 closing curlies). _________________________________ Open the map in DarkRadiant and in the 3D view, CTRL+SHIFT to select a face below the surface, then while holding CTRL+SHIFT you can drag-click to texture all of these multiple faces with caulk. This could probably be done in Blender but I didn't try that because this works well enough, for the most part. This is not even really important, except to avoid confusion during editing. You can now select multiple brushes, press V and select multiple vertices, and (with care) adjust them around to deform your terrain. Note that texturing hasn't come into it yet because ideally once you're happy with the formation, you would export as ASE and bring it back into Blender to unwrap and vertex-paint etc. to polish it up for the final product. Here's an example of how I began to create "lips" that overlap each other and fold into themselves, to create features like cliff-faces and caves:- . . .1 point
-
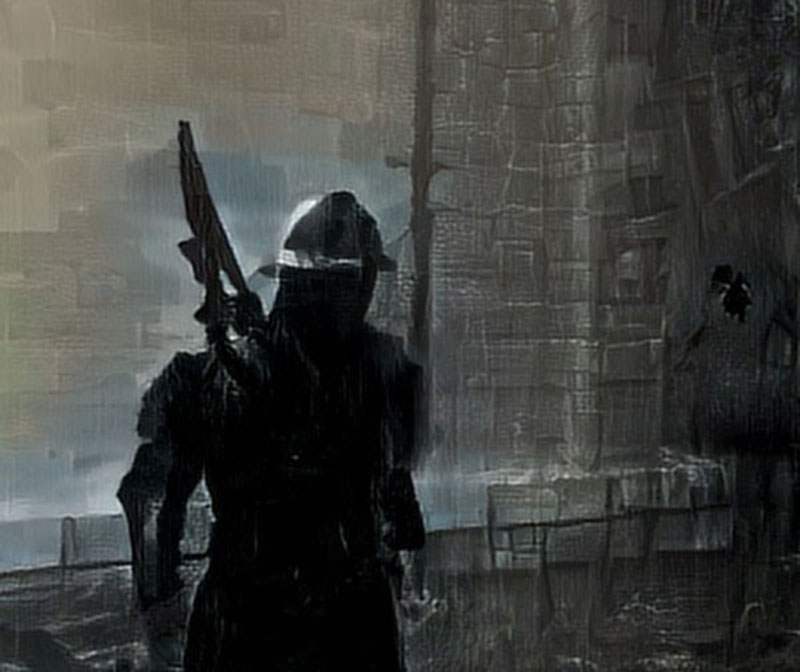
Hm I might messed up the lighting there, he should be wearing an iron helmet (see attachment) , but I am not an artist like Springheel is, so please forgive me my sluggish failures
 1 point