Search the Community
Showing results for '/tags/forums/mesh/'.
-
Hi guys, through the "cheats" topic I got the idea, that it would be quite useful, if there were tags for missions (the post was about removing the killing restriction in some missions to suit the prefered play style). I don't know how easy or difficult this is, but with them, it would be quite convenient to pick missions with playstyles, environment, etc one does want to use. This could also be expanded to other mission properties. I remember a discussion about climbable drains, handles on doors, that cannot be picked and other things the map author chooses for himself. That way these things would be clearer and as I said before, it is easier to choose missions with playstyles that suit oneself. What do think?
-
id Studio did a poor job in defining its categorization of variable nomenclature, so in subsequent documentation and discussions there are divergent views (or just slop). In my series, I had to choose something, and went with what I thought would be clearest for the GUI programmer: Properties, which are either Registers (like true variables) Non-registers (like tags) User Variables (also true variables) I see that your view is more along these lines (which perhaps reflects C++ internals?): Flags (like my non-registers) Properties, which are either Built-in (like my registers) Custom (like user Variables) Also, elsewhere, you refer to "registers" as temporaries. I am willing to consider that there could be temporary registers during expression evaluation, but by my interpretation those would be in addition to named property registers. I'm not sure where to go next with this particular aspect, but at least can state it.
-
can somebody fix the mainpage of our site? http://forums.thedarkmod.com/topic/19469-new-layout-error/
-
** As of 2.11 many of these assets have been further optimized and incorporated into the core mod** *These are reposted from the discord server* Conversions of cc0 licensed assets from https://polyhaven.com/models: **POLY HAVEN CC0 ASSET PACK 01 "SEATING"** - REV4 - narrow seats. wide seats - red seats. blue seats **POLY HAVEN CC0 ASSET PACK 02 "GOTHIC"** - Initial Release - Even more furniture - Interactive prefabs: Containers, cabinets, drawers, "working" grandfather clock - Fully modular pier kit - A very nice bed ! But AI can't sit in the chair ! Notes on "optimization": many of these meshes are particularly tricky for a very novice modeller as they contain a lot of smaller detail geometry which ideally would be baked into a normal map. That's a bit beyond me admittedly, so a much greater emphasis was put into keeping a higher level of detail but having as few shadow casting triangles as I could manage. The shadow mesh is typically only 10-20% of the overall polygon budget of an asset in the pack with some exceptions for the large "hero" assets like the bed.
- 16 replies
-
- 16
-

-

-
Experimenting with TDM on Steam Link on Android. see topic http://forums.thedarkmod.com/topic/19432-tdm-on-steam-link-for-android/
-

Why are there no more new fan missions in the missions section ?
AluminumHaste replied to ^^artin's topic in Fan Missions
Keep in mind also that mission size, and complexity have increased dramatically since the beginning. For a lot of veteran mappers, it can take over a year to get a map made and released. The last dozen missions have for the most part been pretty massive, with new textures, sounds, scripts, models etc. We seem to be long past the point of people loading up the tools, and banging out a mission in a few weeks that's very barebones. We still do see some of those, but I noticed in the beta mapper forums and on Discord, that mappers seem to make these maps, but don't release them, and instead use the knowledge gained to make something even better. Could just be bias on my part scrolling through the forums and discord server though. -
I don't think there's a hard limit anymore, especially if you provide lower-poly versions of the mesh to use at a distance and a shadowmesh so that the engine doesn't need to calculate shadows on the whole mesh. For a character the highest detail mesh probably ought to aim for 7-8k triangles, possibly even more. Polys most likely refers to triangles.
-
Thanks, I can also recommend gog galaxy. The idea of the custom tags is really nice, I'll have to try this out too!
-

Bump maps not blending in vertex blended materials
nbohr1more replied to grodenglaive's topic in TDM Tech Support
Seems to confirm: https://bugs.thedarkmod.com/view.php?id=5718 does it happen in the latest dev build: https://forums.thedarkmod.com/index.php?/topic/20824-public-access-to-development-versions/ -
YOU TAFFERS! Happy new year! Deadeye is a small/tiny assassination mission recommended for TDM newcomers and veterans alike. Briefing: Download link: https://drive.google.com/file/d/1JWslTAC3Ai9kkl1VCvJb14ZlVxWMmkUj/view?usp=sharing Enjoy! EDIT: I promised to someone to write something about the design of the map. This is in spoiler tags below. Possibly useful to new mappers or players interested in developer commentary.
- 27 replies
-
- 17
-
-
Thief4 trainer with NOCLIP mode - http://forums.thedarkmod.com/topic/16001-thief-4-tweaks-fixes/page-7?do=findComment&comment=420152
-
Voice actors needed - details in beta topic: http://forums.thedarkmod.com/topic/19360-proofreading-and-voice-actors-needed-for-fm/?p=419500
-
I just read@motorsep Discovered that you are able to create a brush, then select it and right click "create light". Now you have a light that ha the radius of the former brush. Just read it on discord and thought it may be of use for some people in the forums here too.
-
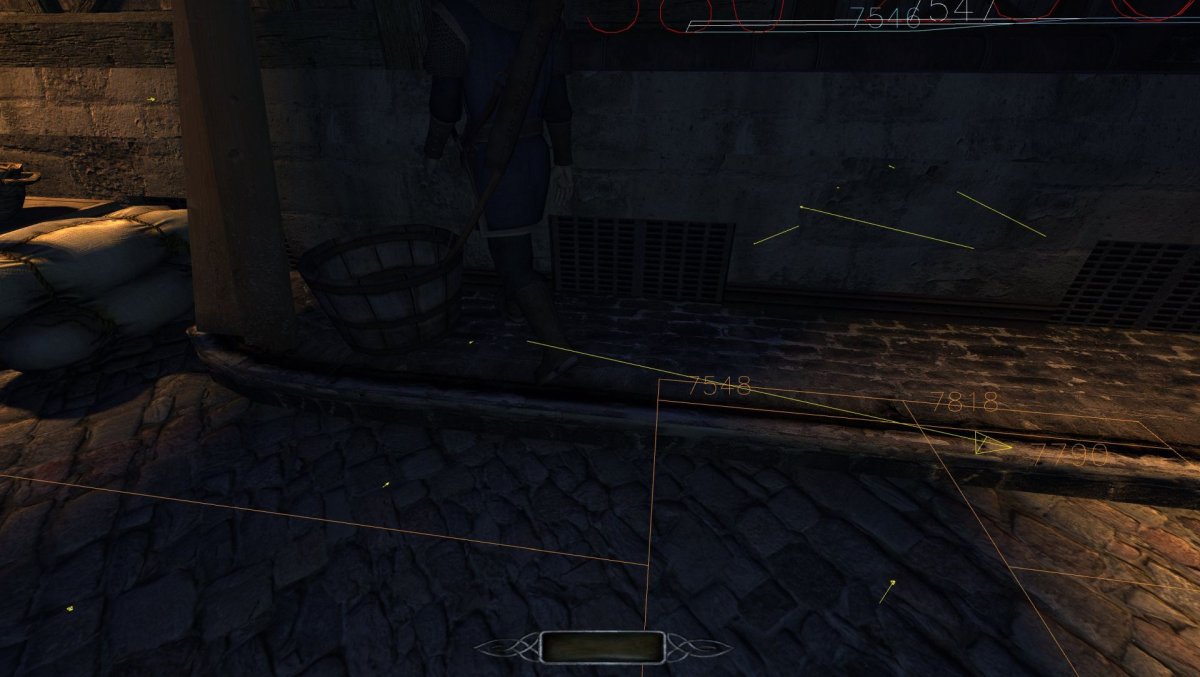
 @Klatremusthe condump didn't have much to say but in better news I was able to load this save with the stealth tools mod installed and can see the guard. He seems to have gotten completely outside the nav mesh (the numbered boxes on the ground) and is attempting to get to this patrol point in the opposite direction (to the arrow). Clearly that is the problem as he cannot navigate without a nav mesh, but not very illustrative of the cause as he has effectively gotten completely encased in a clipping volume intended to keep AI out and it's very hard to say how that happens or why it is happening with such regularity in your playthroughs. I did a fly through of the map in this state and couldn't find any other AI in this state - but given whatever is causing this occur has already started in this playthrough hopefully if I keep going I will run into some more along the way.
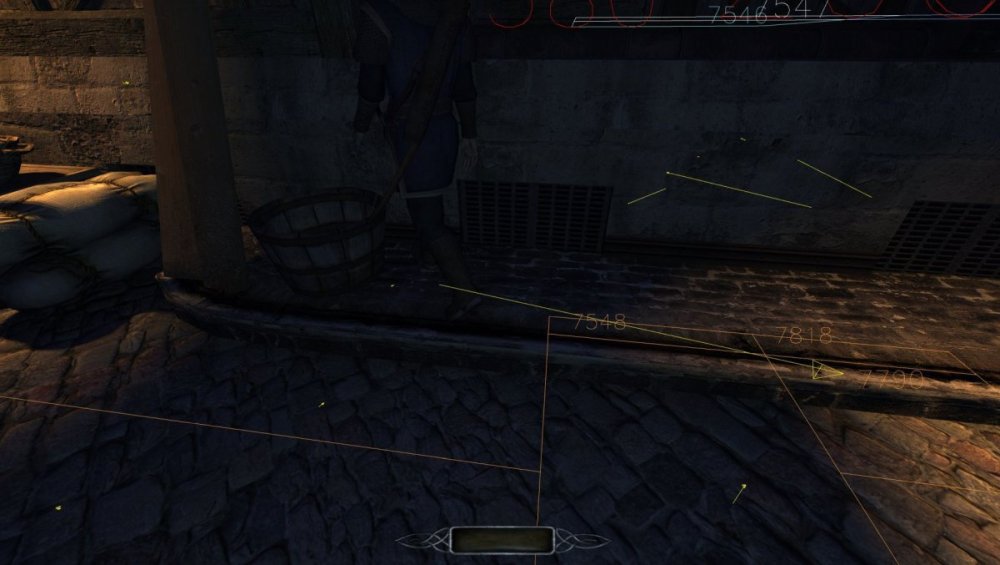
-

RPS Article on Thief genre from perspective of original TTLG dev
New Horizon replied to Shadow's topic in Off-Topic
TTLG? That's Through the Looking Glass Forums. A looking glass fan community. Has been around for a long, long time. https://www.ttlg.com/forums/ -

TDM Beta Release schedule confusion and frustrations
Dragofer replied to Daft Mugi's topic in The Dark Mod
I think the reason the dev forums exist is to provide a place where the implementation of features can be discussed without getting mixed up with other debates when someone believes what the devs are doing is wrong. We often post public discussion threads for features with subjective elements like the frob outline, because community feedback is very important. But there will always be vocal defenders with strong views for or against certain features, or how exactly it should be implemented in their opinion. At some point a decision has to be made and be carried through, which is what the dev forums are for. Almost all of the threads are very technical, basically explaining and discussing recent or potential code changes with other devs. Its hard to say. Its a hobby the devs do in their spare time, so people come and go when they're in the mood and when they have the time. The team page is mostly accurate except for some relatively newer additions like myself. -
I just found this thread on ttlg listing Immersive Sims: https://www.ttlg.com/forums/showthread.php?t=151176
-
https://github.com/HansKristian-Work/vkd3d-proton/tags <- directx 12 wrapper for dxvk https://github.com/doitsujin/dxvk/tags <- directx to vulkan wrappers D3D 9 to 11 eg. dxvk if you want to try it with horizon zero dawn you need to copy out dxcompiler.dll from Tools\ShaderCompiler\PC\1.0.2595\x64 and bink2w64.dll from Tools\bin and place them next to HorizonZeroDawn.exe. then copy over dxgi.dll from dxvk and d3d12.dll from vkd3d and place them next to it to. now fire up the game and let the shaders recompile -> profit.
-
Recently revisiting the forums after a longer period of time I wanted to check the unread content. I don't know if I am doing this wrong since.. ever... but on mobile (visiting the unread content page on my smartphone) you have to click on that tiny speech bubble to go to the most recent post in a thread. If you don't click correctly you'll hit the headline and end up at post 1 in the beginning of the thread. It's terrible on mobile, since not only the speech bubble is really small and was to miss. But also the thread headline is just millimeters away from it so you go right to the first post that was ever made instead of the most recent ones. Am I doing it wrong? I just want to go through u read content a d the to the newest post from that topic.
-
had to build my own replacements as well due to prices being silly atm coupled with the fact that im disabled old and near my retirement days anyway so i probably wont be out there anymore jobbing to get income for the latest and greatest in PC components . You can get pretty far with some second hand materials though and im quite happy with how my current gaming PC has turned out ->. for mainboard i used the old but still gold asrock z97 extreme6, it was one of the first boards to support nvme (albeit with a few pitfalls like disabling one of the x16 pcie slots). It has thunderbolt 2 support (via addin card) and you can even add a wifi/bluetooth adapter via a mini pcie port (laptop models). the cpu is the devils canyon 4970k (refresh of the 4770k with higher clock speed), ram is kingstons 2400 mhz ddr3. For a gfx card i went with a gigabyte 1080 ti OC which was one of the less pricey models (it is white... the cooler felt like a piece of cardboard and it has no backplate) it runs quite fine though except it got pretty hot in demanding games so i outfitted it with the rajintek morpheus 2 core edition cooler and oh boy is that cooler something... downside it fills 4 pcie spaces and weighs a ton upside i can run anything at ultra in 4k at a playable framerate without turning it into a furnace (newer gets above 62 "). DLSS is a nogo though, you can enable it but the performance hit is rather drastic so dont!. AMD's fidelity fx can also be used and it runs a bit better with that but still raytracing was before this card so not recommended to enable. without this gripe it is actually a solid 4K card. the case i used is the lian li lancool 3, this one is a bit odd but also has some interresting stuff. The glass sidepanels are opened by pulling the alu front bars yep dont forget it or else the bottom mesh sidepanels are magnetically locked in place which is cool except when you figure out that 3 of the ssd mounting rackets are located on the right sidepanel so you have to use really thin and flexible wiring because else it would pop the panel open constantly (the magnets cant hold a lot). Also if you plan to use a big hunking PSU like my old corsair 1000W you loose two mounts for older 3.5 " harddrives (yep it is that big) so i went with a smaller 750W corsair cause i still have a few of the 3.5 " drives in use for storage. cpu cooler is the renowned artic freezer II 360 AIO top mounted ( do not mount AIO's on the bottom like some idiots do you break the cooler that way cause the fluid would newer hit the pump, if you have to mount it otherwise use the front intake and the hoses should be at the bottom of the case not the top! sadly many AIO's use pretty short hoses so that is not allways an option in that case go for a good air cooler instead like the noctua NH-D14 or the dark rock from be silent ). This little thingy puts up quite nicely with todays tasks win11 is also in reach since it does support TPM 2 (still have to get the add in card though) the cpu is not supported officially but it runs quite fine with it (yep i tested it, dont like win11's mac alike interface though so for now i stay on win10) need a small tweak to get the installer to accept it (registry key) but other than that no problem.
-
 A@datiswous Ah yeah, well sorry, I was quiet busy and only visiting discord. First time here on the forums since months now I think.. Thank you for the subtitles. I encourage everyone who is interested in using them to download it from here as I'm not sure when I'll be able to implement them myself into the mission. Again, thank you for your work.
- 221 replies
-
- 2
-
-
- contest
- fanmission
- (and 2 more)
-
Did a great find today: Quake 4 mods for dummies. Now online readable. http://forums.thedarkmod.com/topic/5576-book-quake-4-mods-for-dummies/?p=412644
-
Hi there! Since modular meshes are a thing in TDM, and I already saw some general misconceptions in the forums on how to make them, I thought I should show you one of basic techniques to make proper modular meshes, especially if you want to release them for others to use. First off, if you're new to the concept, have some preliminary reading: https://docs.unrealengine.com/udk/Three/rsrc/Three/ModularLevelDesign/ModularLevelDesign.pdf The document is old, but the principles of modular design stay the same. It's always about building the game world as fast as possible, while trying to save on polygons, textures and resources in general, and making the environment look as unique as you can. These seem like polar opposites at first, but with creative use of modular meshes you will reach that middle ground. Now, I'm not going to discuss my modeling techniques in much detail, since that's whole other topic, but we will stick to some ground rules: 1. Your wireframe has to be clean. I know this is modeling 101, but you can never stress enough how important it is. Essentially, your low-poly model has to be made with polygons (squares or rectangles) which can be divided into triangles when you convert it to a mesh. So, any piece rectangular flat surface should be divisible into 2 triangles. That doesn't mean you can't have triangles in your model. You can, they just won't be divided further. This is very simple mesh with 3 rectangular surfaces, in other words, it has 3 polygons. And this is how it should look like after export to mesh and in your game editor. As you see, everything is fine, there are 6 triangles. Now, in TDM module library I often see something like this: This is not a clean wireframe. You're looking at 14 triangles instead of 6. That's 42 edges instead of 18. While it may not be game-breaking now, it's definitely a waste of triangles. If you're going to have a whole collection of meshes built this way, you may be wasting processing power and lowering the overall game performance. Engines using lightmaps would probably have shadowing problems with this kind of wireframe. And that's how we move to rule number two, which is: 2. Save polygons whenever you can. Get rid of the faces players will never see. Use geometry only to convey believable shape of a model. Use high -> low poly model workflow and texture baking process to imitate complicated geometry with diffuse and normal textures. You don't need a thousand-polygon wall module, if you can fake it with normalmap and little visual difference. This is not only helpful in terms of performance, but it saves a lot of time at the model UVW Unwrap stage (it's easier / faster with fewer polygons to deal with). It also can be a design decision: whether it's a distant / skybox art or closer to the player, etc., etc. Now the rule number three, which is probably the most important of them all: 3. The pivot has to be moved to a place that allows most flexible use of a model, in as many scenarios as possible, and with grid set to as high number as possible. While this is not obligatory for unique objects, decorations and clutter, architectural meshes have to be cloned, moved, rotated and snapped to grid, as fast as you can. Typically, this depends on mesh dimensions and pivot placement. Since this all may sound very technical and abstract, let's get down to proper example. For my mission, I needed a wooden wall panel, something in the Builder's cathedral aesthetics. While browsing through many references, I found something appealing to my taste, but way above my modeling skills: I was also taking screenshots of Dishonored. I liked the Overseers' HQ, and I wanted to have something similar in terms of modularity: Notice that you don't need any special columns for outward corners, or to break up panels that are next to each other. I thought that the easiest way to achieve something similar would be to have a horizontal tiling texture with sections. Since I'm using 2048 textures as a base, I knew that 128 x 256 units will be enough for a wall panel, and I'll be able to divide it properly later. I didn't want the low-poly mesh to be complex, so I thought all I need is an upper trim section, the main section with inset panels, and the ground trim section. Technically, I could probably use one trim section and overlapping UVs to save on texture space, but I thought that is a bit too far Besides, any dirt layer on that would have the same spots or scratches on both trims, and that might look weird. This was the initial basic outline of my low-poly mesh. I thought the trim parts will be 16 u high, to fit better with overall proportions. Besides, if I'd changed my mind and decided that it's better to scale the model down to 64 x 128 u, it would have looked good as well. Now, since my drawing skills are basically none, I decided to model parts and decoration that would end up as baked texture and normal. I started with the middle section. Since the panel would be 256 u long, it was easy to divide it into 8 sections, 32 u each. I added thin strips between each section to make things a bit more interesting. Notice that I cut the strip by half on each end to make it tile properly later. I made a few adjustments and started adding decoration for the insets: Since there aren't many Builder insignia concept artworks, I tried making something on my own. It's kind of too close to hammerite stuff, but I liked it enough to leave it that way. Now the trims. Actually, one trim for the ground that is reversed for the upper section: The final model wasn't even high poly, medium poly at best. You're looking at 5200 polygons. I unwrapped the initial low-poly mesh (well, a plane with 3 setions), so it was super easy to bake the medium poly mesh onto it. I was using only half of the 2048 texture space. I could crop the texture to 1024 x 2048 and reposition UVs, but I decided that later I'd make a column, or another variation of this panel, so this space would not go to waste. This was kind of crucial moment and time when fun began. First thing I did was to check the pivot. I aligned it with the plane, moved it to the left side, and placed it on the ground. This way the model would be much easier to manipulate, whether it's moving around, rotating, or snapping to brushes or other meshes. Then I had to determine the final shape of the mesh and its possible uses. I applied the baked AO as bitmap to see whether the texture tiles (it did), and decided to tilt trim sections a bit, so it reflects the shape of medium poly mesh a bit more. I knew that players wouldn't see the bottom part of the mesh, but I wasn't so sure about the upper part. I decided to make the upper finish and used the trim part of the texture for it. Then I built a few walls to see how the mesh would look placed against them. That was when I realized my mistake. The pivot was in line with the middle section now, so, when I snapped it to a wall, the middle section was z-fighting with a wall. Duh! I selected the polygon and moved it 1 unit to the front. When I made sure that I can safely snap the mesh to walls and its clones, I proceeded to divide it to parts. As you see, this is still 128 x 256 wall panel, it's not really flexible. We need different length variations. Since I divided the medium poly into 8 even sections, I could slice the low poly mesh into chunks. Since having 8 different parts isn't that useful in the long run, I decided to clone the mesh, cut off one panel, clone the result cut another panel, etc. This way I came up with panels that are 224, 192, 160, 128, 96, 64 and 32 units long, respectively: The question is: do you really need that many panel variations? Typically, no. Four should be more than enough. You can always have a panel going through a wall, where player will never see it, so you don't need to be that precise and have all the length variants. Still, there was one thing even more important: corner pieces. I cloned the two-inset (64-unit) version of the panel to cut it in half. Then I rotated the "right half" 90° to the left to see the result. It was far from satisfactory. I knew that I'd need to align the upper and lower trims to form the corner, but I completely forgot that moving the middle section 1 unit to the front (to avoid z-fighting with walls) would create half a unit gap in the corner. This is how it looked after I aligned the vertices: This is where I could go to making textures and testing meshes in the editor, but there's also a problem of having inward corners. Many developers don't even bother with these, there will be some z-fighting of the upper part, in the small corner where meshes intersect. Not a big deal, but you can have such corners if you want as well. I felt like I had complete package, so I made some preliminary textures and material, then I begun exporting all pieces in .ASE format. All in all, I managed to create 12 variants of one mesh to cover the whole variety of its uses. After a few iterations of _d, _s, and _n textures, I came up with something like this: Edit: after getting some feedback I reworked the trims to give them more depth and proper silhouette, so the final result looks like this: This also demonstrates how important it is to bounce your ideas off someone or to show your work for peer review. A fresh look and healthy criticism can have very positive impact on quality of your work. I hope you'll find this useful while designing your own modular parts, let me know if you have any questions.
-
Wink, Wink: Spoonman has a new beta... http://forums.thedarkmod.com/topic/18049-betatesters-needed/?view=getnewpost
-
Several days ago I was thrilled to hear that TDM 2.08 contains several new characters along with other fantastic improvements. Seeing how much work had been done on this release gave me a motivational boost to try contributing something myself, especially having worked on porting human(oid) characters to TDM in the past... this time I wanted to submit something that can hopefully be included in vanilla TDM perhaps with 2.09. As I was testing the new release I remembered an old submission on Blendswap called BGE Dragon, featuring a polished quality dragon for the now defunct Blender Game Engine, notable for the fact that it comes with animations for walking / running which makes working with it easier as you don't have to make those yourself. I always felt dragons would fit the theme of TDM wonderfully and allow for some amazing missions, to be fair suggesting them had long been on my mind... remembering how easy it was to work with this one, I figured I'd do the groundwork and instead submit a blend that contains everything needed to port it to The Dark Mod. I'm happy to announce I now have such a blend available! The first thing was the polygon count; The original mesh is pretty high poly, clocking at about 30,000 polys which may be too much for TDM on most people's devices. I played with mesh decimation then did some manual corrections, managing to retain acceptable quality while generating models with okay polygon counts: lod0 = 9.306, lod1 = 6.009, lod2 = 3.218, shadow = 2.265. The original quality mesh is still included in the blend file, so if we need to re-generate any LOD version this can be easily done at any time. Next I worked on separating the armature into two objects, based on the example for the human model I built my previous characters upon: The real armature that deforms the model and is used to export animations, with a control armature driving its bones that's only used to design said animations inside Blender. As the control armature uses a complex IK setup for bones this took some toying with, but in the end I could generate a simple armature which will hopefully work in exporting the md5anim set. Speaking of animations I made sure those are also covered. For the endlessly looping walk and run animations I added markers that identify the frames between which they must be exported to get a seamless loop. I next turned the idle animation into a randomly occurring gesture, then proceeded to animate everything else from scratch to obtain: Walk Run Idle (with two random gestures, stretching / pacing and looking around) Sit (with "lay down", "stand up", "idle" animations) (seamlessly connects to "idle") Sleep (with "lay down", "stand up", "idle" animations) (seamlessly connects to "idle") Attack (two types, bite and slash) (seamlessly connects to "idle") Die (brief animation at the end of which the ragdoll system is supposed to take over) An example gif of the idle gesture from the Blendswap submission, converted to and intended as a random occurrence in-game: From here on I need your help and am calling on the artists who helped create the new monsters (eg: Manbeast) to aid in making this come true as well! I've done most of the work as far as the model goes, putting aside any tweaks that might be needed (eg: model scale and animation length). I'm also going to work on the texture next to produce the proper maps... my target is to have 4 different skins / colors in total. I also believe I can produce the sounds having already found promising submissions to start from on OpenGameArt. But before putting more work into this, I wish to be sure someone can help with the remaining steps so we can get the model in the game. What I need from fellow developers should be: A new AI type for the dragon. Note that it's not intended to fly, especially not in its initial implementation; Later on we may add a fly animation and data to the AI for knowing how to use it... for now I only care to have it work like the spider, wandering around and attacking if it sees a hostile entity. This should thus be easy if we can copy another monster's code. Exporting the assets from Blender to TDM, particularly the model and animations. As I don't have an AI nor a test case handy nor ever worked with exporting TDM animations or models for non-human characters, I need someone else to generate and test the mesh files. First the md5 mesh for each LOD, everything is included in the blend even the low-poly shadow mesh... afterward the armature actions for it need to be exported to md5anim files. Lastly the defs need to be written, along with any other step I may have missed to make the character actually work. I should be able to do the material based on my previous examples once I finish the textures, so don't worry about that part... please just make sure the materials in the exported md5mesh have the same name as the material names in Blender. Download blend version 0.5 I look forward to hearing your thoughts! If any developers or experienced contributors confirm they can take care of the integration, I can get started on the remaining assets soon