Ravenhook
-
Posts
101 -
Joined
-
Last visited
-
Days Won
4
Everything posted by Ravenhook
-
Yes I did watch the brilliant video which I might add I have downloaded and burned onto a disc, problem with me is that I have to listen through headphones on my pc owing to have dull hearing and a screaming sort of noise in one ear add to that poor eyesight in one eye...I was a combat soldier for very many years as a support gunner (machine gunner) and unlike todays soldiers no eye protection and no earplugs and just the noble beret for head protection..God I miss those days, I also care for my wife and concentration is a bit on the thin side so I find it difficult to refer back and forth to a dvd which I scribble notes from unlike a printed out tutorial which I simply underline so yes I was using Fidcals A-Z. I saw the cut out part as above and was trying to do it neatly, a oversized tunnel portal prefab would be nice to hide the choppy clipping that I'm going to achieve but you never know and I will keep trying until I get the look I'm after. Thanks for your patience with this old man.
-
Ok I give in...how do I chop out the half cylinder from the block please,...in an idiot proof and age related step by step guide for thickies.
-
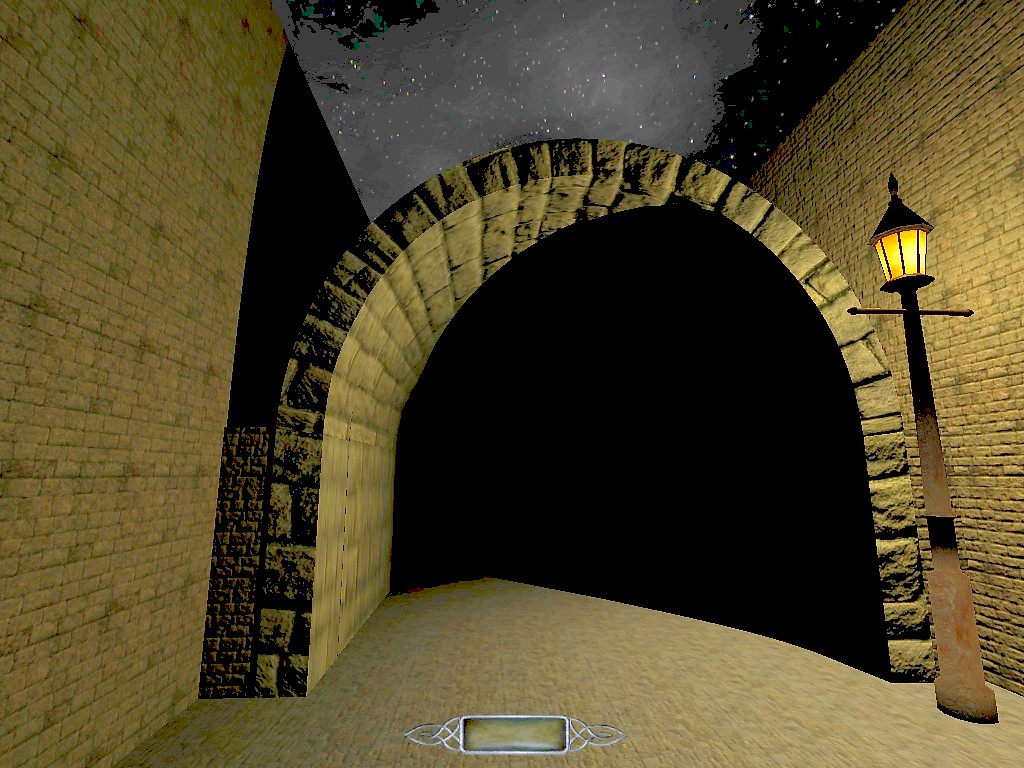
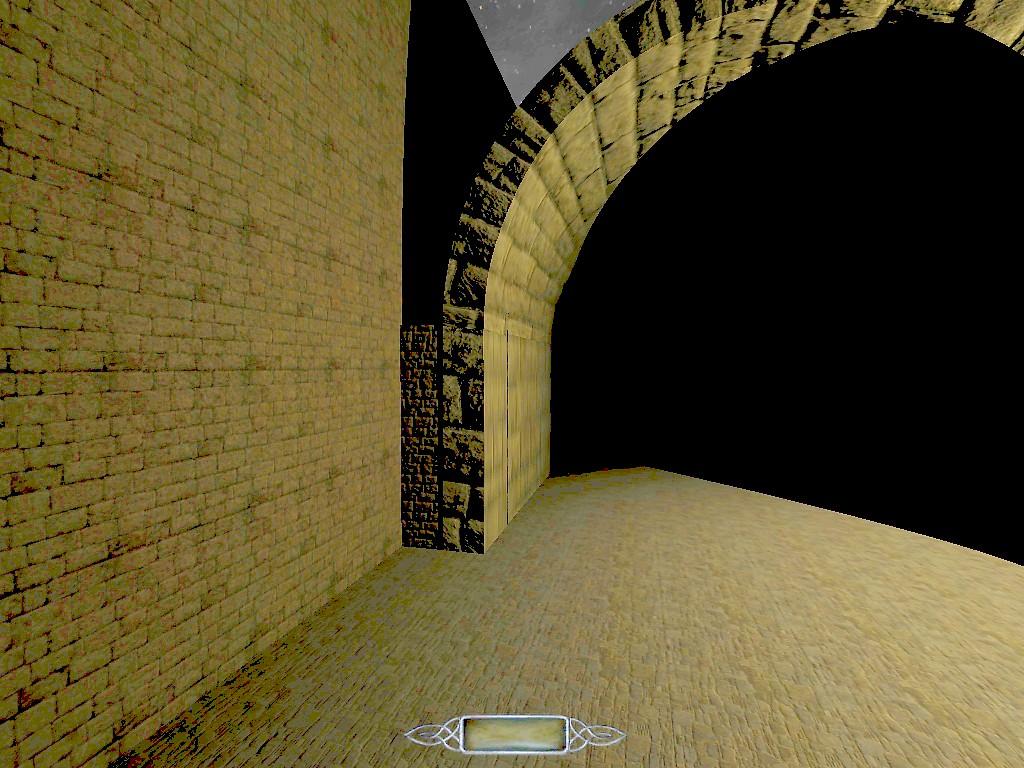
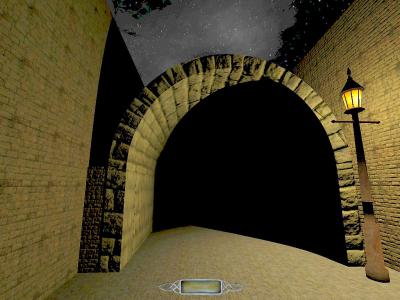
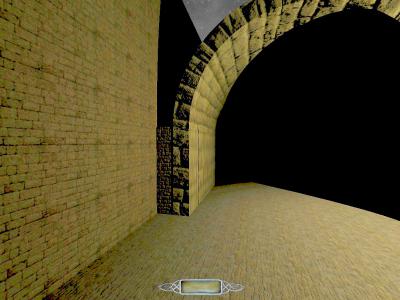
I have included two shots of the tunnel mouth with the two filler pieces. (ignore the awful brightness as I have enhanced the hell out of them to show them up)
-
Have checked those out thank you Obsttorte. As I want the tunnel mouth to go through a solid brush I have filled in the gap of the two straight sides, now I need two brushes clipped to surround the circular part of the tunnel so that I am left with a nice flat surface up on top. Is there a tutorial, written or video of that type of clipping please. Thank you.
-
Getting there, thanks to you all. Now to master clipping a brush to cover the tube that I used.
-
Excellent, thank you.
-
Yup, I'm in light inspector and that is where I'm experimenting at the moment but I will look at the vide, thanks.
-
Hmm, going into projected>lights>ambient_biground gives the desired effect but the downside is that the streetlight now doesn't look lit even though it has noshadow 1 attached to it's properties.
-
Fiddling with a light entity and trying to get a yellow look out of it but when I adjust the lum down to 80 the colour drops off too, can you keep the colour you choose but just lower the brightness (lum) or is it not possible.
-
Ok, I have created a streetlight and now I am looking to light it, I cant find a specific light for the streetlight, looking in...create entity>lights>light sources, but there seems to be everything but electric light?..what one do you use for an outside streetlight please. Thank you.
-
I have been advised to start a link so that I can ask questions and receive answers and keep them in one place for future reference, this is a brilliant idea and so this is my mind palace. Be brutal, be rude...I can take it and what gems I can pick up will stay , I had a 5'4" ex para RSM who used to stand on an orange box to get eyeball to eyeball while he bawled you out and I took that to so..be brutal please.
-
Thats a great idea, Thank you.
-
Ok, found that bad boy.
-
Thanks OrbWeaver, just one stupid question, where in the texture tree is caulk please.
-
Thank you for your help guys (I hope I'm not being sexist there). The trouble is when attempting something new you have to un-learn all the previous knowledge and start from scratch and one huge mistake I made here was to leave rooms un caulked on the outside and not tidying up the outer edges and when I checked for the leak that popped up I found sky textures all over the place where they shouldn't have been, my fault, nobody elses, I just tried to hurry my way through the tutorial instead of reading the tips that were added especially the caulk tip.."caulk everything", lesson learned so I will try again but this time I will make an outside so that I can get the sky right to begin with as I got into such a mess with it.
-
I tried deleting my ambient light but it was still the same, then tried changing my sky prefab thing and then replaced my sky textures to something else..and then I got a leak tried as hard as I could but couldnt find it and accidentally deleted some major bits and had a hissy fit..so I have rediscovered my inner being (have I hell) and am going to start all over again like ......damn!.
-
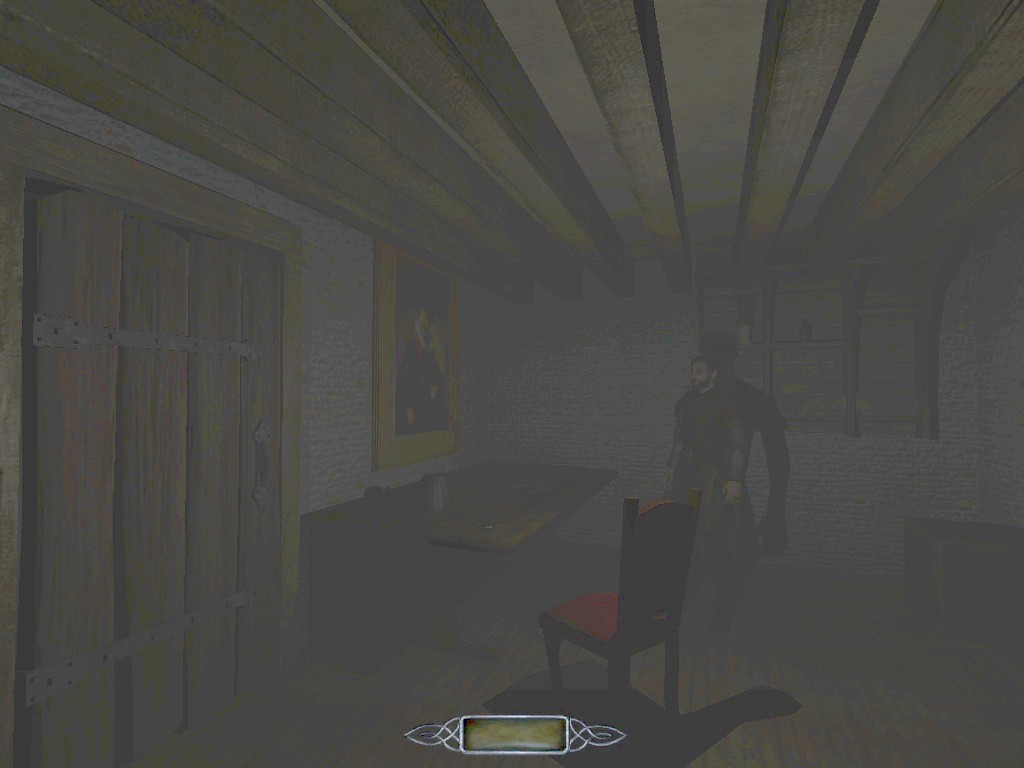
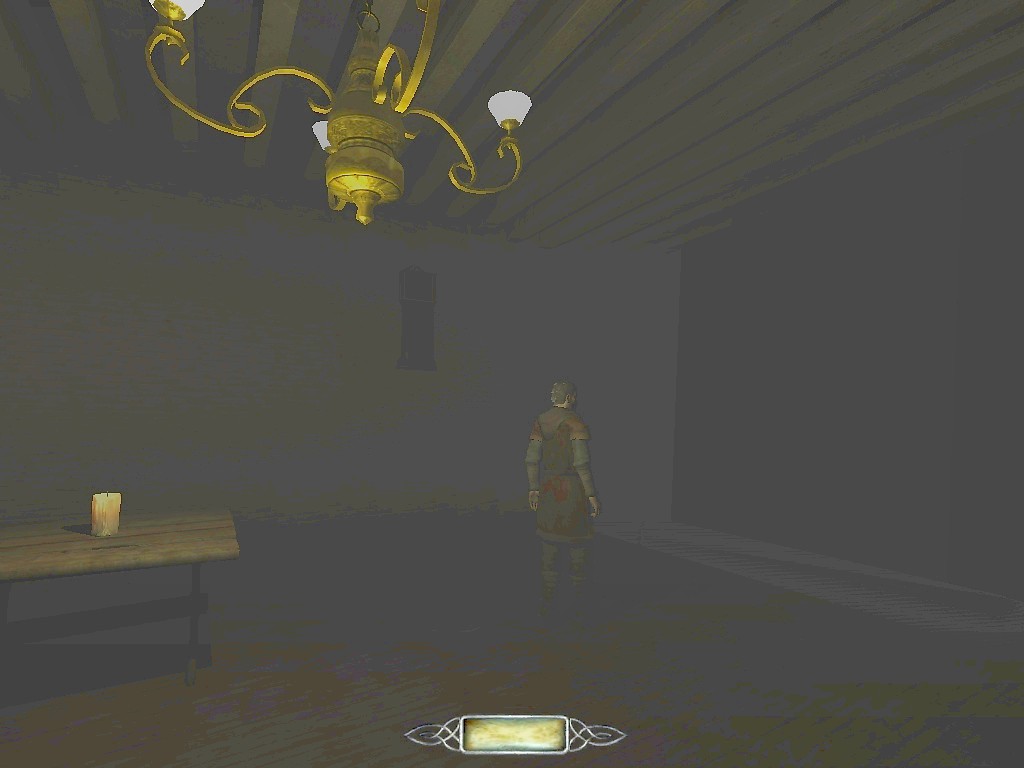
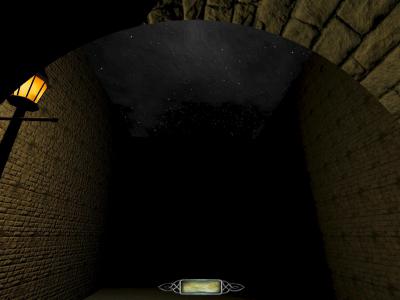
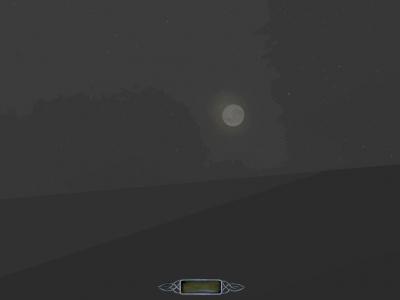
I have attached 3 pictures of what had happened, but the dreaded has happened and I have managed to screw everything up and lost half of my mini map...sp Tomorrow I am going to start over with a clearer head, but if anyone knows what was causing this I would be very grateful to know.Thanks.

-
I am really a pain aren't I. I have 2 rooms and a courtyard, did the sky bit, dragged the prefab miles away from everything as per the A-Z, found and fixed some leaks, all seems ok, ran it through dmap and opened it up in Dark Mod to test and hey Presto there is fog everywhere...inside outside and I never set up fog I only used starry sky ?? what have I done now.
-
Got it, Thank you.
-
having progressed so far, I now have two rooms and an outside are at which I need to place a wall torch, have done so and now I have to add a property to the entity inspector. With the torch selected I open up entity inspector and rmb click where abouts on the open panel because I have to also add a value??? Thank you for your patience, I am impressed with how much easier (once I have been well and truly kicked up the backside) this is compared with dromed, the dmap compiler is far superior.
-
Thanks Destined I understand what you mean, I'll start a new map and work in just the top view and see what happens.
-
Ahh, thank you OrbWeaver..it's a lot to take in especially with an out of ink printer.
-
Using the recipe, it says to make a cube and texture it and resize the texture...ok so far, then it tells you to select the bottom, ok...then the snag, it says that I can only have one side selected to copy shader...how do I deselect the reverse side..I even tried to hollow the cube as when it was a solid cube shift click on one side of the cube in 3D mode caused all the sides to get selected.
-
Judith..... .....I'll need some more practicing methinks.
-
Ok, using the recipe here is a very rough lash up that I have made, it would need a lot more work doing as I only used the first two parts on the recipe..vertices need tweaking and seams need covering. The map is tiny as I'm only practicing the parts that are giving me a headache. sewer1.txt