
xlm
Member-
Posts
13 -
Joined
-
Last visited
Everything posted by xlm
-

The Dark Mod 15th Anniversary Contest - Entry Thread
xlm replied to nbohr1more's topic in Fan Missions
OK, I'm in. -

The Dark Mod 15th Anniversary Contest ? ( POLL ADDED )
xlm replied to nbohr1more's topic in Fan Missions
I like proposal 2 because I have thought of doing that many times, but realistically, just allowing people to do whatever they want seems less restrictive, so more people might join in. Besides, if someone still wants to reinterpret a T1 or T3 mission, well, nobody is stopping them. Perhaps "include a nod to a classic Thief/TDM map somewhere in your mission" could be a milder requirement. Campaigns just take too much time to make. -
Well, I don't know about adding new difficulties, that seems like a lot of work. A hack way of getting the same effect, and which I use, is to create a simple .cfg file with the required changes and then execute it in-game (e.g. a text file called brutal.cfg then, in-game "exec brutal"). You could redefine the modifiers for, say, the hardcore difficulty, which are usually tdm_ai_hearing_hardcore "1.5" & tdm_ai_vision_hardcore "1.005" to something higher, although I don't know if they are capped or how to interpret those values. There are other cvars that might be useful, but I have never tried them. tdm_ai_sndvol seems useful. You'd have to test the changes in-game, probably in the Sound & Blackjacking map. For this, there are some very useful commands to see the sound direction, propagation, and values, but I can't remember them right now. There's an important caveat here, and why messing around with this stuff should be done at your own risk. I have found that some cvars go back to their default values as soon as you load or die, while others seem to stick around. Modifiers to the player's height (like pm_normalviewheight), revert to default if you load, but modifiers to the player's speed (pm_walkspeed) don't. And I know this because I have a .cfg file named halfling.cfg, and you can imagine what it does. To avoid this, I have a "default" cfg to restore the game to the normal values if (or when) something goes wrong (it's basically a copy of the Darkmod.cfg, but with a different name, and I only use it for this purpose.)
-
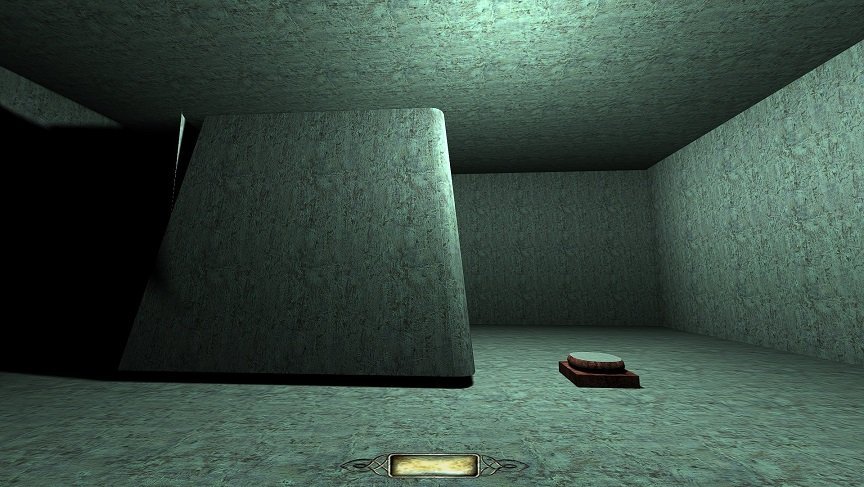
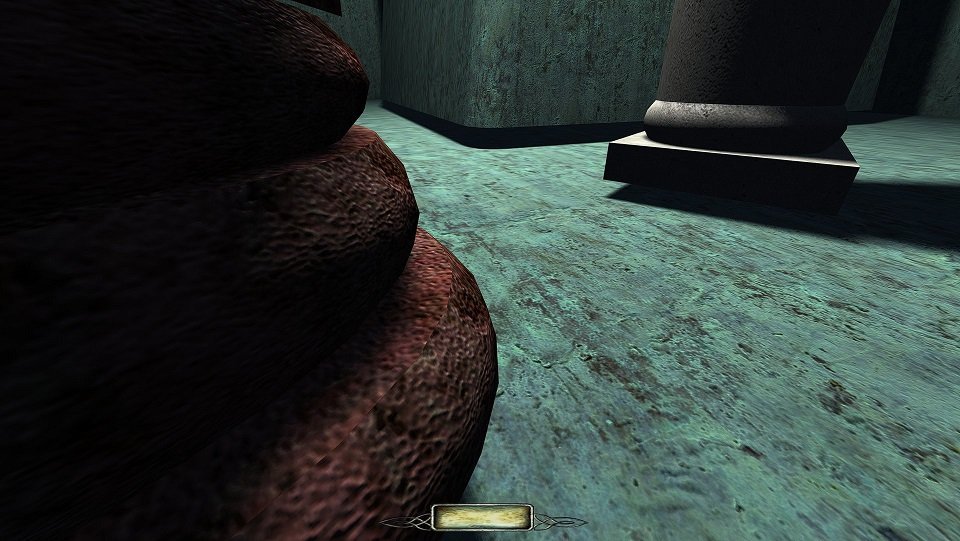
It seems the unsnapped vertices were a bit of a red herring. The cause was simpler: the textures just don't align. When copying a shader from a receding/slanting surface to another one, the texture is tilted/rotated (like the side of an inclined wall made of bricks: it will "point" downwards) and this, I assume, happens to the patch too. If you "unrotate" it so the side of the bricks stays parallel to the ground, there's a seam as the textures are misaligned. It became obvious when using a tiling surface. I have managed to align the slanted surfaces at eye level, but the farther up or down you go, and the more sides you add to the object, the more misaligned they get. With a flat texture like plaster and some trimming, it could be hidden quite well I think. In case this is useful to someone, or for any future noob, here are a few pictures:
-
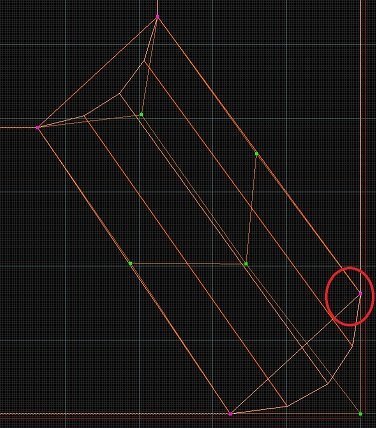
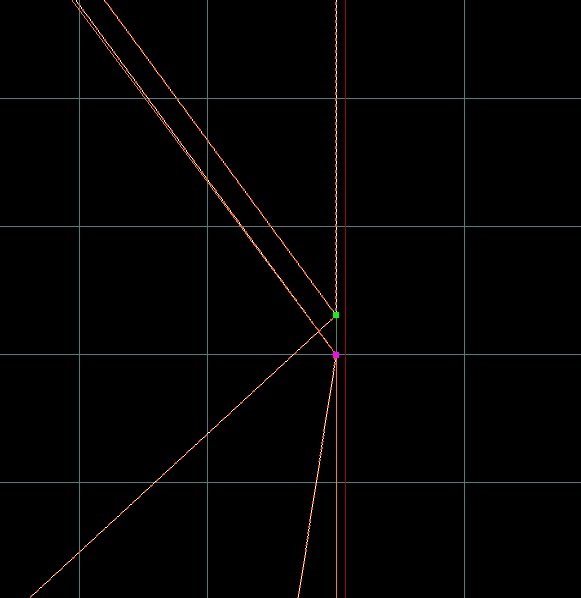
Hi, I'm messing around with patches to see what can be done with them, and I have a couple of questions. None are critical issues, as a matter of fact, I doubt I'd notice them or cared if I were playing someone else's map, but as I'm learning, knowing what can't be done is sometimes as important as what can be done. Here's the thing: is it possible to bevel a surface not parallel to one of the orthogonal axes, in other words, a slanted bevel? To be more specific: I'm having problems with snapping it to the grid; it doesn't want to. I mean, I have done the bevel, and it looks nice from a distance, but the slanted surface refuses to snap to the grid, which causes a visible, although small, seam (or at least I assume that's the reason.) And projecting the texture is also a bit of pain. Let's see if I can attach a picture... OK... [a few/lots of minutes later] messing around with it one side now looks much better (almost imperceptible seam, tbh,) but the other side still looks off. I still can't snap to the grid the four corners (interestingly, it's the main brush, the frustum, the one that refuses, not the bevel, which is perfectly snapped). I can snap three of the four corners, but there is always one that shifts on its own will, even when using the smallest grid. See the next two pictures, where I have the main brush and the patch selected; the dots overlap except that one. And if I snap that one, another will shift (clockwise? I think.) I mean, that's like... what, 1/3 of 1/8 of a Doom Unit? 1mm? Not game-breaking, really, and nothing that can't be hidden with some trim or just in shadows, but I wonder if there's a technique for this or what I did wrong. [Hmmm, after some thinking, I wonder if my issue was creating the original cube on grid X and then cutting the triangular corner for the bevel on a different grid size so the corners were weirdly placed... I'd have to test that out] And speaking of seams, is it possible to make a smooth texture transition from the surface of a cylinder (or ring or whatever) to its cap? See the third picture, which is the rounded base of a column. If it's not (or it takes a lot of effort or editing), then it's no big deal, as there are more important things to worry about. But if there's a quick & easy way (natural projection hasn't worked for me in this instance), it would be good to know. Thanks!
-

Fan Mission: In Plain Sight by Frost_Salamander (2022/08/07)
xlm replied to Frost_Salamander's topic in Fan Missions
I have done everything but I'd like to get the optional loot objective if possible. I'm pretty sure there's a lot of stuff in Eaton mansion since I can see a greenhouse-like room next to the study. I can even see a piece of loot (a golden statue,) but I don't know how to get there. It might be just a secret, but that piece of loot is very tantalizing. I have tried smashing the windows, looking for buttons and, on the corridor, what I assume are the doors to the place, but they are non-frobbale. A hint would be appreciated. Thanks PS: Oh, yeah, a great mission, by the way. -
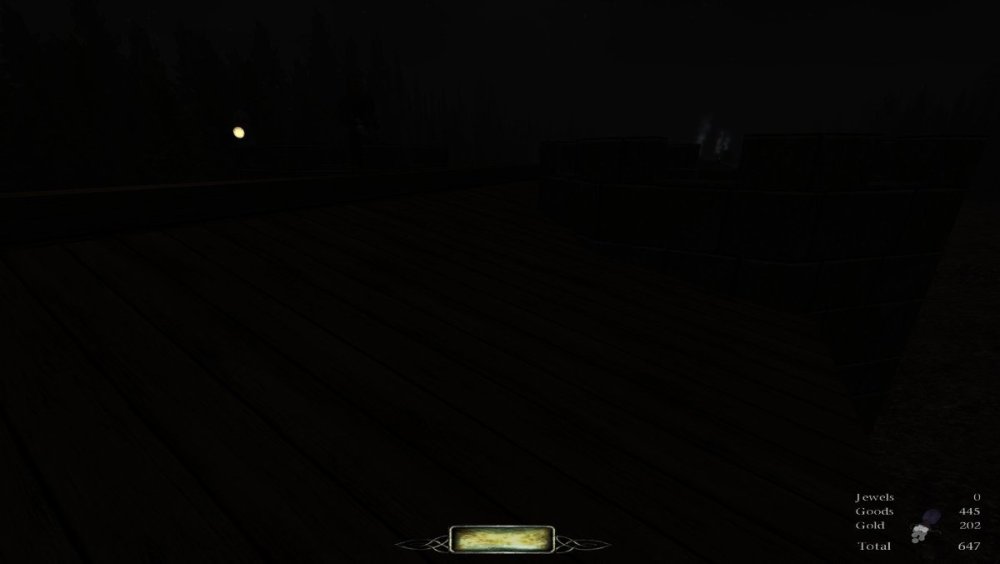
What a charming mission, I really enjoyed it. Quite inventive, but reasonable, places with hidden loot, too. Although I assume this is a personal thing and most people won't care, it was a bit weird that some AIs could hear you creeping around with all that noise going on (at least the first two, the others are in more insulated places so it doesn't matter.) I know that's how sound works in the darkmod, but maybe making their perception a bit lower for those? It's not a big deal, really. Also, on top of one the wagons there's a place where you are in full light, despite there being no obvious source of light. I had doused the chanderlier below, in the guard room, and I think the light the roof guard has is not pointing where I am in the picture.
-
Well, now, talk about early-onset dementia , I have my Project Setup and everything else as it should, but something about your reply made me realize I had encountered a related (if not the same) problem almost 1-2 years ago when I first tried mapping something, and I had even found the solution and I might have mentioned it under one of Springheels01 tutorials! I just had forgotten about it. Correct me if I'm wrong, but my confusion stems from, I believe, two ways (or more, actually) of dmapping something and, generally speaking, "organizing" (yeah, well... ) your stuff: just lazily dropping your .map in darkmod/maps and type dmap mymission, which can be done without selecting the mission first (you could be playing some other mission and just load up your map whenever you want,) and the /fms/... way, where you actually have to select it first, which is kind of obvious when you think about it because how else would the computer know where to look, but I didn't do it because I never had to do it before. Stupid mistake, really—but at least it's not because of a typo. Thanks, your comment actually helped. I'm still a bit confused by other things, but they are mostly that more advanced stuff with custom assets, so it's not that important and I'll get around that eventually. At least I got that nagging confusion out of the way, which was really driving me nuts.
-
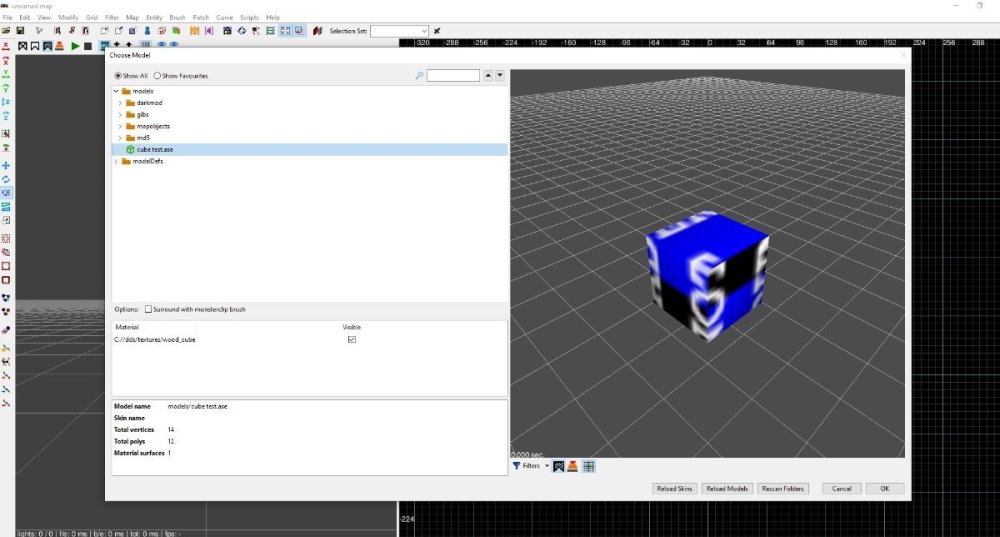
It's hard to imagine a more newb question than this, but I don't believe I can't make any progress mapping anything beyond a few rooms if I don't understand this (and reading the wiki doesn't make it clear to me): what's the correct folder structure for a darkmod mission I'm making, and for possible custom assets? I mean, looking at Youtube tutorials, I see almost everyone has the .map inside the main darkmod/maps/whatever.map, and that's what I use, because it works when dmapping, although I think NeonsStyle has the one he shows in his tutorial inside the fms folder, eg.: darkmod/fms/mymission/mymap.map. But if I do that, I can't even dmap. Now, reading the A-Z guide, if I understand it correctly, you use the fms folder to store your custom assets not present in the main darkmod root folder? Is that what the Game/Project Setup is for? That doesn't seem to work for me, though (see below.) In practice, I don't care much about that because I can test the mission just fine and I'm probably going to use default assets anyway, but I model from time to time so I tried using custom models (just a simple cube with a custom texture as a test) and I can't make it work. The cube appears in DR, even in the same scale and dimensions (which susprised me), but it's just nodraw (not "black" as I read in some tutorials.) This is what I did: I found a Blender plug-in to convert models into .ase and I can get that to work, but then the cube shows with no material or texture (inside the game, it simply isn't rendered.) I know I need to change the bitmap line, but I have no idea what to write in there because, quite honestly, I don't understand the folder system or where I need to put things in the first place. I thought I could put my custom .ase file inside the fms/mymission/models folder but then the .ase doesn't load in the Models Viewer in the DR, so I had to save it, like my .map, inside the main TDM folder (e.g., darkmod/models/custom.ase). Then it does show but, well, no texture... (see attachment) By the way, that's in a new, clean TDM and DR install. So, where do I need to put the .dds, .tga, and .ase files then? And how should I change the *bitmap line? I have tried looking inside various pk4 files for TDM models and their .ase files but that didn't help much. (Being a custom model and material, I assume I would also need to write a .def for the cubes properties? But for now, I'd like to at least be able to see the textured cube in the editor.) Here's how the .ase bitmap part looks like when exported and stored inside darkmod/models: Obviously, that won't work at all (in fact, I don't know why that's so long or why it points to the Desktop, that's where I saved the .blend file, not the .dds.) But, anyway, what should I write in there? The tutorials in the wiki seem a bit old and makes references to D3 and a folder structure and textures from that game, so I'm confused. Thank you. I know there are many questions here, but I have read and watched almost every tutorial, and I still don't get it.


