Arcturus
-
Posts
1930 -
Joined
-
Last visited
-
Days Won
62
Everything posted by Arcturus
-
-
@Goldwell It should be easy to modify the material to make clouds cover the whole sky, move faster, etc.
- 9 replies
-
- 1
-

-
- parallax occlusion mapping
- cloud textures
- (and 1 more)
-
 Continuing from this thread. I figured out how to add color and bumpmaps to the fake metallic reflections. Here's the material: Textures. I don't think md5 meshes can have vertex colors, so no bumpmaps: This material should work out of the box on all .ase models exported from Blender. No vertex painting needed. If you want to apply it on a brush, then swap vertexcolor and inversevertexcolor in the material. In the video left half of the monkey's face has vertex paint so that part has a different shading.
 -
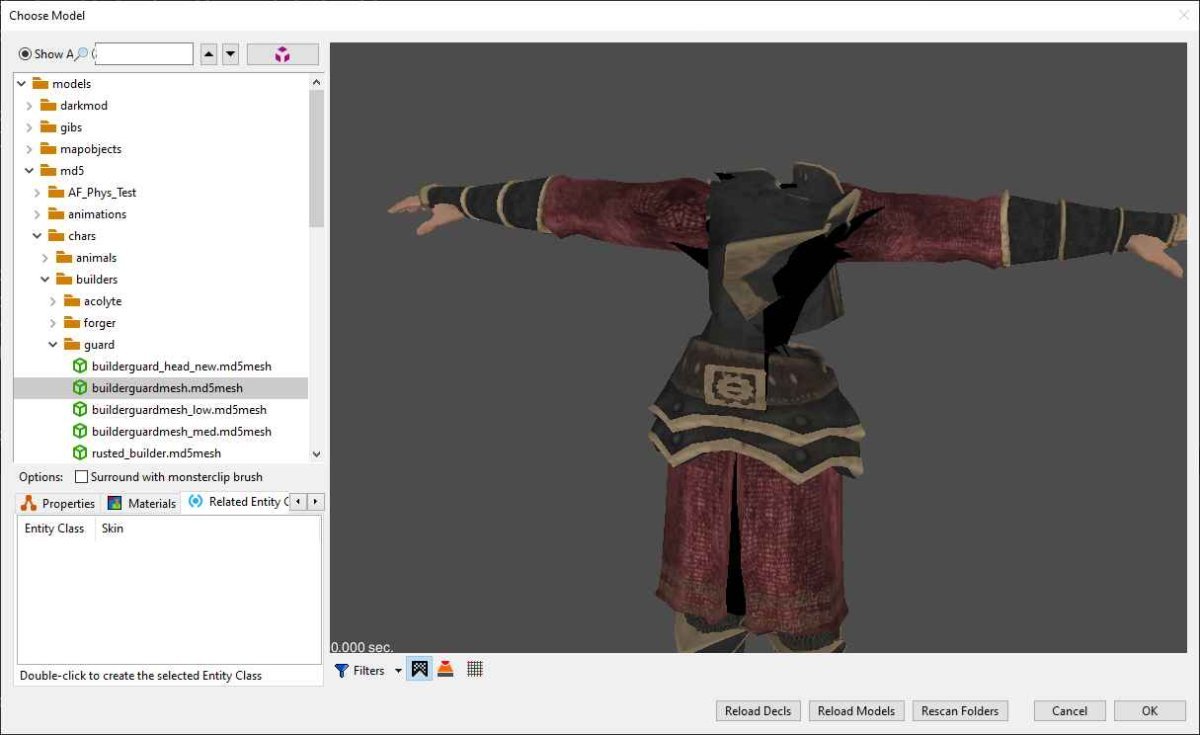
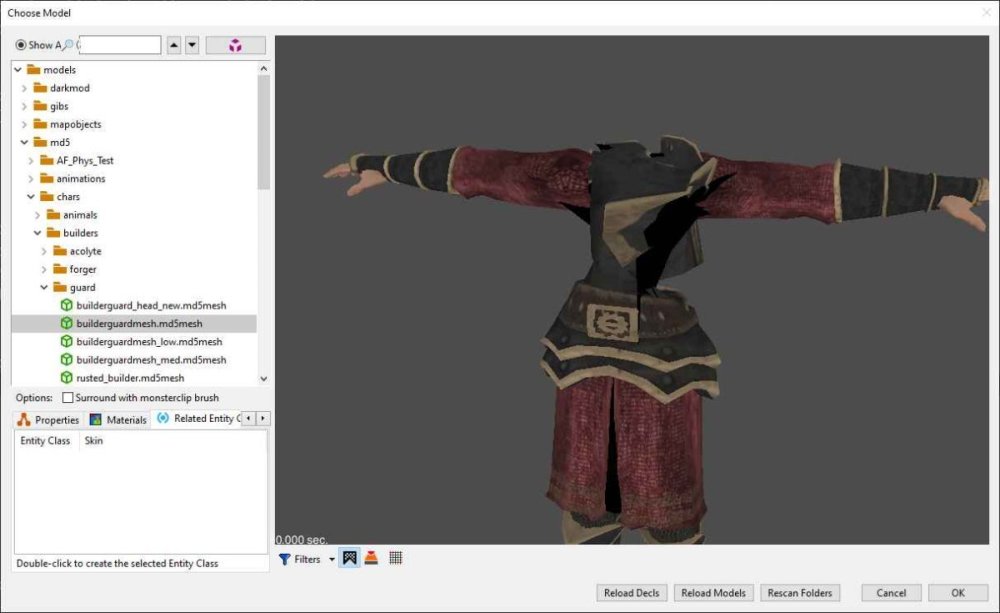
I lied. Actually parallax mapping works fine with animated .md5 models. There must be something else going on with the builder model, and now I wonder if it has something to do with this situation: With lower specularmap values looks like it's a bit rougher. Continued in this thread.
-
UV seams are very visible. Other than that I think it's usable. Here's the material: textures/test/parallax_gold { diffusemap textures/test_parallax/parallax_gold { blend specularmap map _white rgb 1 } { blend parallaxmap map textures/test_parallax/parallax_gold_height min -1 max 1 //refineSteps 5 //linearSteps 20 //grazingAngle 0.3 offsetExternalShadows 0 } } I used two noise textures made in GIMP: https://drive.google.com/file/d/1O77ZcNIkYetGk_w_53JXgwpntwOyEkKJ/view?usp=sharing Generally .md5 mesh will look like any other geometry as long as it's not deformed by animation:
-
One thing I wanted to test was .md5 meshes. Parallax mapping doesn't mesh very well with them, but if you crank it up to 11 you get something that looks like polished metal. Of course you can forget about proper texturing, but it reacts to light believably.
-
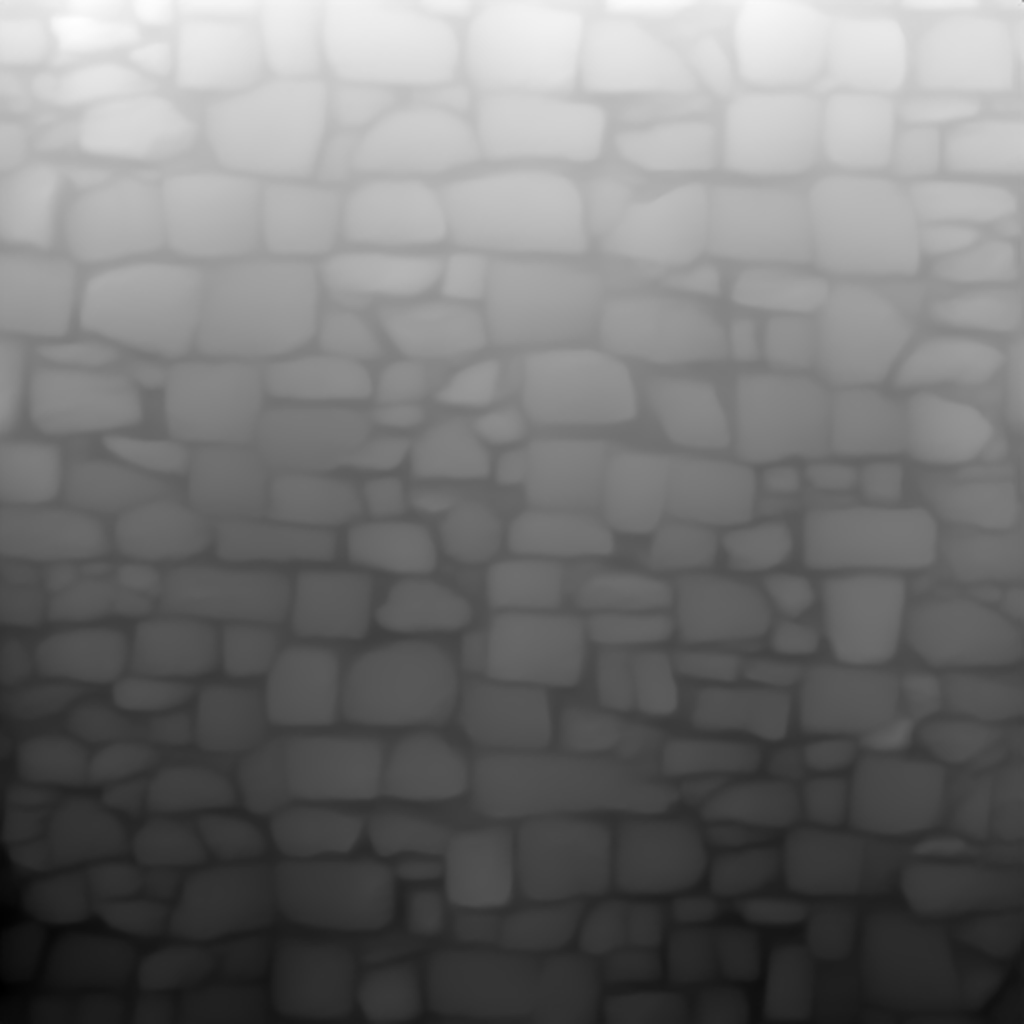
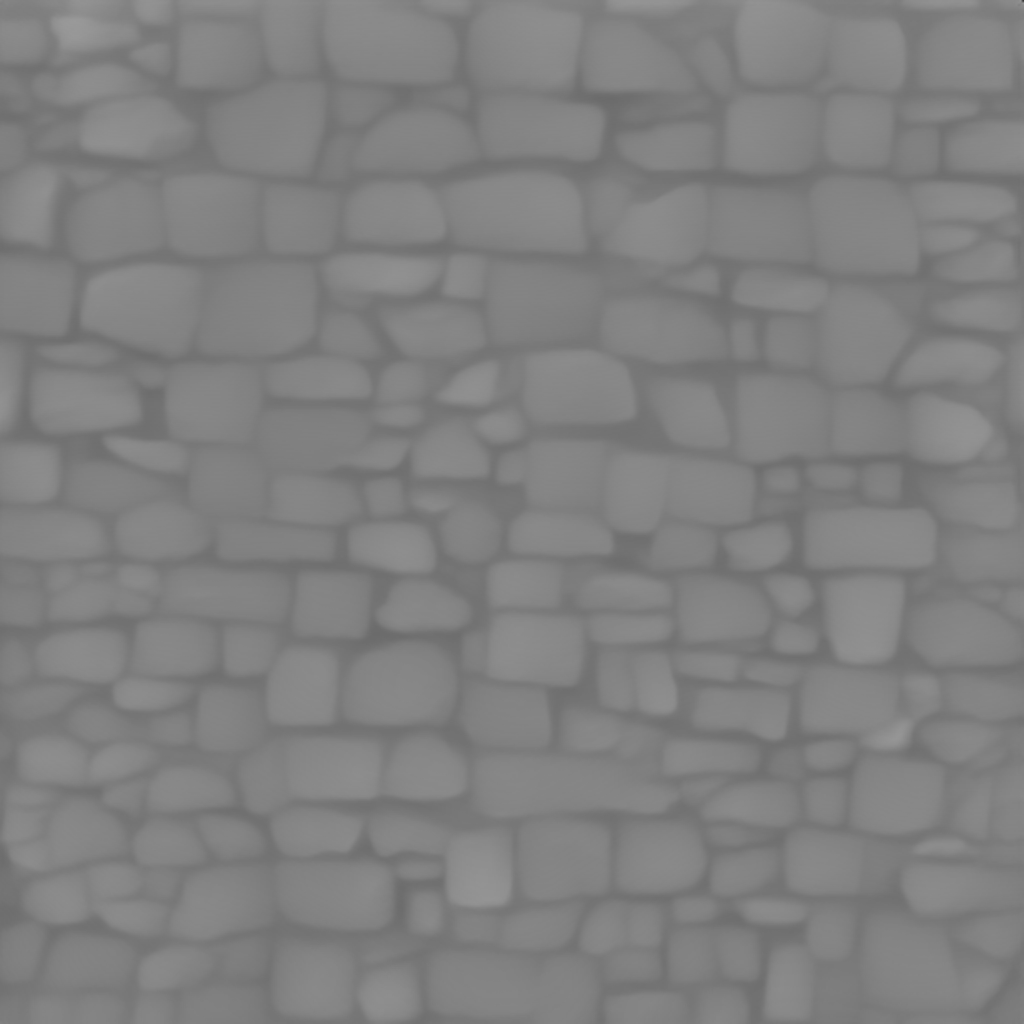
Tried the same method on the cobblestone wall. Instead of the current handmade normalmap, I used the Stable Diffusion-generated heightmap.
-
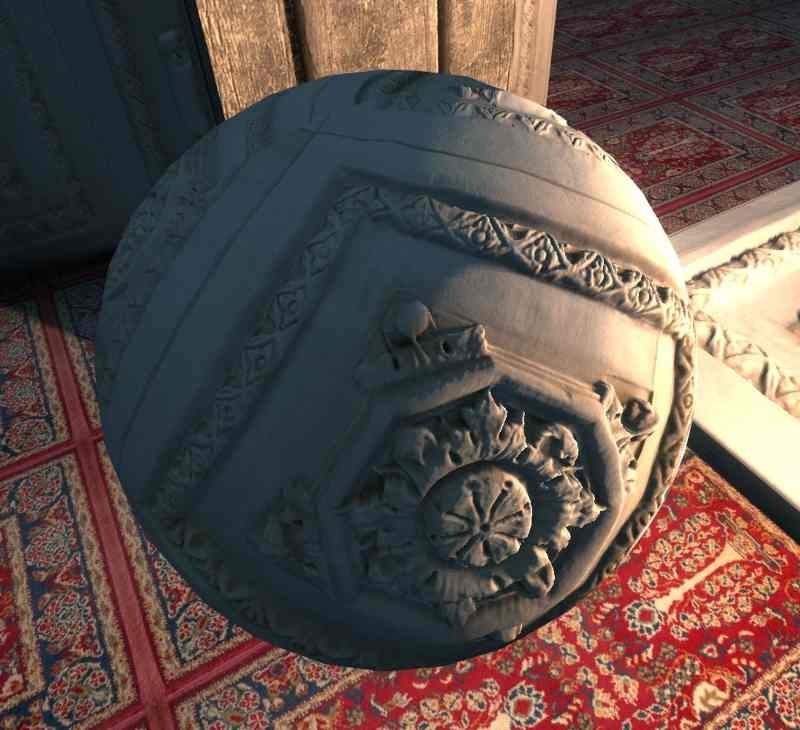
Here's textures/darkmod/plaster/panel_decorative_white texture, current normalmap only: Current normalmap plus heightmap generated in Stable Diffusion (with a bit of wavelet decompose + highpass filter in GIMP): And this one is using only the heightmap. Normalmap is generated from it using the blend bumpmap command in the material. textures/darkmod/plaster/panel_decorative_white { surftype15 description "tile" qer_editorimage textures/darkmod/plaster/panel_decorative_white_ed diffusemap textures/darkmod/plaster/panel_decorative_white { blend bumpmap map heightmap (textures/darkmod/plaster/panel_decorative_white_height , 10) } { blend parallaxmap map textures/darkmod/plaster/panel_decorative_white_height min -0.03 max 0.03 } } I used the Depth Anything v2 Large model using this addon I mentioned before and I think it did a great job. https://drive.google.com/file/d/1cf1V861gnc0aPs8rn2BGcQuO0PYhIuLG/view?usp=drive_link
-
I changed one of the new noise textures that I use for bumpmapping to be more uniform. Also changed the shape of the mask object in front of the moon and tweaked some of the values.
- 9 replies
-
- 5
-
-
- parallax occlusion mapping
- cloud textures
- (and 1 more)
-
I uploaded new skybox prefab to the repository. I had to use couple new .ase meshes to get it to work. I added another patch / layer of clouds, the original starry prefab used only one, plus some clouds specifically for the moon. The moon is a round mesh, plus another one for the glow behind it. It's hard to manage the highlights in Darkmod. Using blending with negative values helped.
- 9 replies
-
- 5
-
-

-
- parallax occlusion mapping
- cloud textures
- (and 1 more)
-
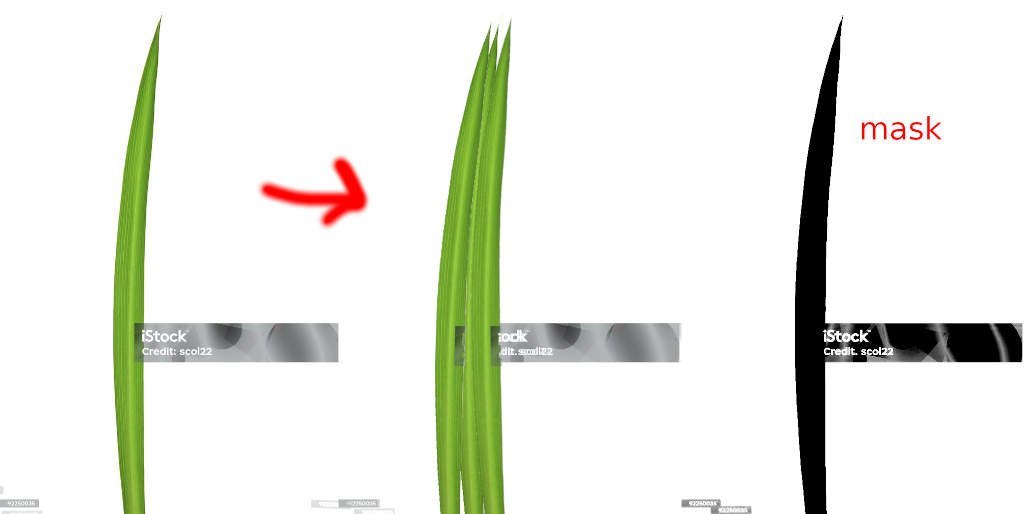
I animated bumpmap at a different rate to get more variety out of one material and also to simulate how clouds change form as they travel. I'm still working on it.
-
Workaround is to expand the image in the color layer so that mask never gets out of bounds.

-
I replaced textures/darkmod/nature/skybox/starry1/clouds on the repository, so you can test it.
- 9 replies
-
- 1
-
-
- parallax occlusion mapping
- cloud textures
- (and 1 more)
-
-
Continuing from the parallax mapping thread. This one is more dramatic with heavy bumpmapping. Original textures/darkmod/nature/skybox/starry1/clouds has one black and white image texture, mine has two three. You can get dramatically different effects just by changing values in the material file. You can kinda tell that the parallax effect is static. It looks good without parallax too, but I like how it warps the textures, making it look more like a fluid and gives it a more 3d look. I also added slight specularity.
- 9 replies
-
- 4
-
-
-
- parallax occlusion mapping
- cloud textures
- (and 1 more)
-
How about (pseudo) volumetric clouds. Continued in this thread.
-
I did not expect this to be possible but you can blend two materials with different parallax effects using vertex colors. Since you can control how far or how close the image is supposed to be rendered using min / max keywords, it's possible to make a trippy effect that resembles autostereogram illusions.
-
I downloaded another plugin for Stable Diffusion for depth and normal maps. It has additional options and renders 16 bit images. They still have large tonal variation, so I created 3 different versions by simply rotating the diffusemap. I overlayed them in GIMP, which leveled the image somewhat. Then I applied high pass filter with high contrast. I had to smear the seams, but that wasn't a big problem. https://drive.google.com/file/d/1VsvnCuK_U9JYLY4mY-4HTScYdyMi9maV/view?usp=sharing
-
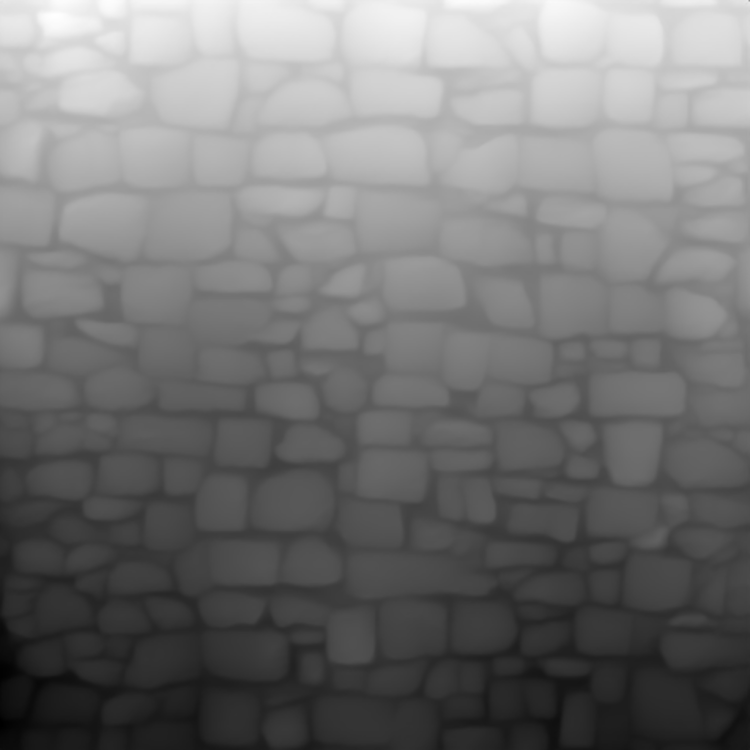
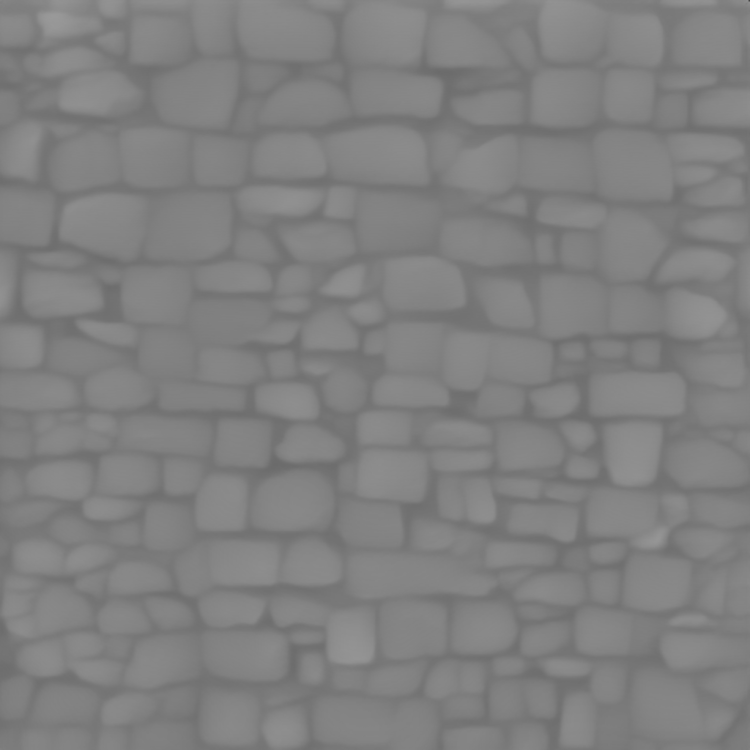
Here's a depth map estimated by "depth anything v2" extension in Stable Diffusion, using nothing but the diffusemap as input: Gives decent results, except for the weird slope. After tweaking using "wavelet decompose" in GIMP: It's still not perfectly tiling, so one would have to remove seams to use it.
-
For my textures I was typically making black and white maps rather painstakingly by hand, at least for the low frequency details. https://drive.google.com/file/d/18KhQA54g_hwZ_GM3x5tAdAg7OpVafo57/view?usp=sharing But there's a lot of crappy normalmaps in Darkmod too.
-
I still have some heightmaps lying around from the olden days of normalmap making in GIMP. Less exaggerated:
-
Last month I replaced the animation of the md5.mesh flag, as the original was horrible. It's still not very realistic, for a better looking flag I suggest using this one: I would like to add another animation and blend the two randomly for a variation. I thought it would be easy, but I don't know how to do it. //waving flag model flag_pirate_01 { mesh models/md5/props/flag/flag01.md5mesh anim idle models/md5/props/flag/idle01.md5anim anim idle_01 models/md5/props/flag/idle_no_wind.md5anim { random_cycle_start } } entityDef atdm:flag_waving_pirate { "editor_displayFolder" "Animated Props" "spawnclass" "idAnimated" "model" "flag_pirate_01" "start_anim" "idle" } random_cycle_start does absolutely nothing.

-
The original blocks_mixedsize02_multicolour I made in 2008 looked like this: It was a collage of photos I took of a small stone wall. It looks like a lime mortar with a little bit of moss on top. Then in 2011 Serpentine just slapped some soot all over it. And it's been like this ever since. I don't know why I didn't just revert it back then.
-
Saw on Youtube recently, an asset pack for Unreal: