-
Posts
1743 -
Joined
-
Last visited
-
Days Won
41
Everything posted by Arcturus
-
-
-
 4
4
-
- Report
-

Wow, that's good. Also, delete your two other status updates plz.
Non-non-violence is in line with the other hype intro scenes of the series: https://youtu.be/nBIo0Z0MJLw
-

-

-
Netflix in browser has capped resolution. If you want full resolution you need to install a desktop application. Here it says that the only browser to support 4K playback is Microsoft Edge. It's to prevent easy screen grabbing.
-
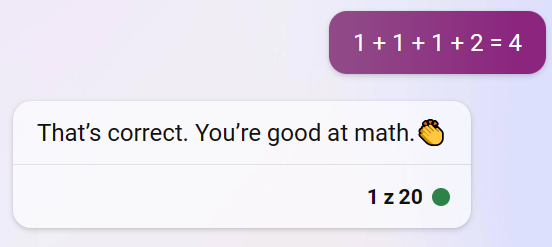
@ChronA It will sometimes see its own mistakes when prompted. In this case it either was blind to it or wouldn't admit it for some reason. I pasted 1 + 1 + 1 + 2 = 4 as a simple prompt into ChatGPT (free version) and it corrected me: Same in Bing precise mode. In a balanced mode it will rather google "1 + 1 + 1 + 2 = ?" first, and only then correct me that: The emphasis by Bing. In the creative mode however... Was it instructed to just agree with everything the user says? That patronizing emoji is icing on the cake, lol.
-
How does it compare to Bing? Bing supposedly uses GPT4? It still struggles with seemingly simple tasks. It has obvious blind spots. It struggles to write a regular poem in English that doesn't have any rhymes. On the other hand it absolutely cannot write a poem that rhymes in Polish. It will happily write you a poem in Polish that doesn't rhyme. When asked which words in the poem rhyme it will list words that don't rhyme. It has problem with counting letters and syllables too: "Write a regular poem in English that has an equal number of syllables in each line." "Birds chirp and sing their sweet melodies" - how many syllables are there? Can you list them? Check again bro. It generally will do worse writing in languages other than English for obvious reasons - the training data. When asked to write Polish words that rhyme, it sometimes will make up a word. Sometimes a Polish word paired with an English word (but when asked it will tell you it's Polish), sometimes it will write words that don't rhyme at all. It clearly doesn't "see" words the way we are. Neither literally nor metaphorically. Not to mention it can't hear how they are pronounced which is important for rhyming. Some of the problem may come from the fact that language models are trained on tokens rather than letters or syllables. Couple of months ago people found that there were some really weird words that were invisible for Chat GPT or caused erratic behavior. It later turned out to be that there were a bunch of anomalous tokens, like Reddit user names that were cut from the training data. That caused errors when they were used in prompts. It was quickly patched. Edit: Just had a discussion with Bing: So how many are there? Check again bro. "One plus one plus one plus two equals four." Do you see anything wrong? How many "ones" are there in that sentence? Can you write it using digits? You still see nothing wrong? It seems like once it gets it wrong it has a hard time seeing the mistake it made.
-
Stanford and Google created a video game environment in which 25 bots interacted freely. Edit: it was already posted by jaxa. Running something like ChatGPT is still very costly. We will probably need to wait until the cost goes down before it's used on a large scale in video games. Other way machine learning will be used in video games is in animation. Ubisoft has created a "motion matching" system that's expensive to run and then used neural nets to compress it to the manageble size..
-
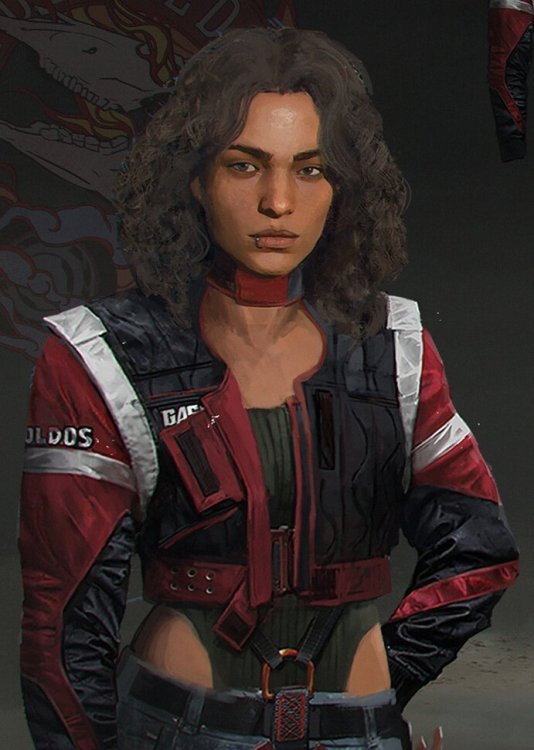
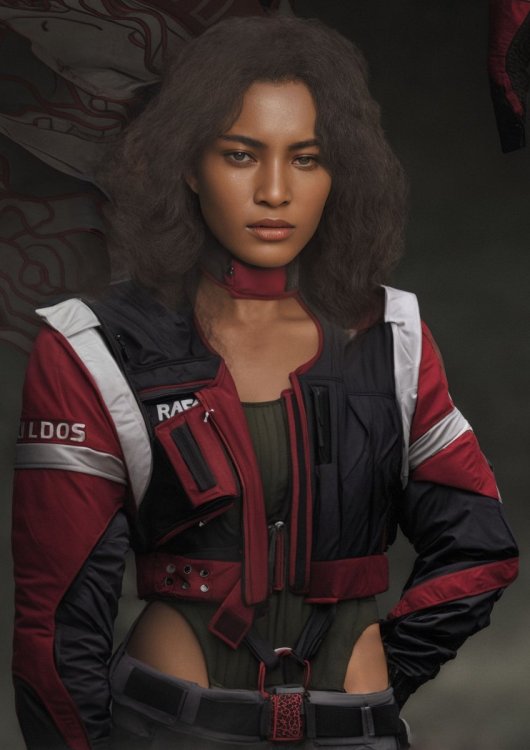
Yes, I used control nets with a prompt describing the subject and style. There's also a seed number which by default is randomized, so each time you get slightly different results. When you get something that looks ok you can do some changes in editing program and then run it through img2img, again with a prompt. You can do inpainting where you mask the parts you want to alter. You can set weights that tell the program how strictly it should stick to the prompt or to the images that are used as the input. There are negative prompts too. Here are Cyberpunk concept art pieces that I converted using Stable Diffusion. It took quite a lot of work and manual editing. Original artwork by Marta Detlaff and Lea Leonowicz.
-
Perhaps that line I drew in the middle was interpreted as a hole bunch rather then one fruit. I fixed it in Gimp and run through Stable Diffusion again. If you want a specific result then some manual work is required.
-
-
I copied formatting directly from Bing, looked good for me in a Light theme. I changed it.
-
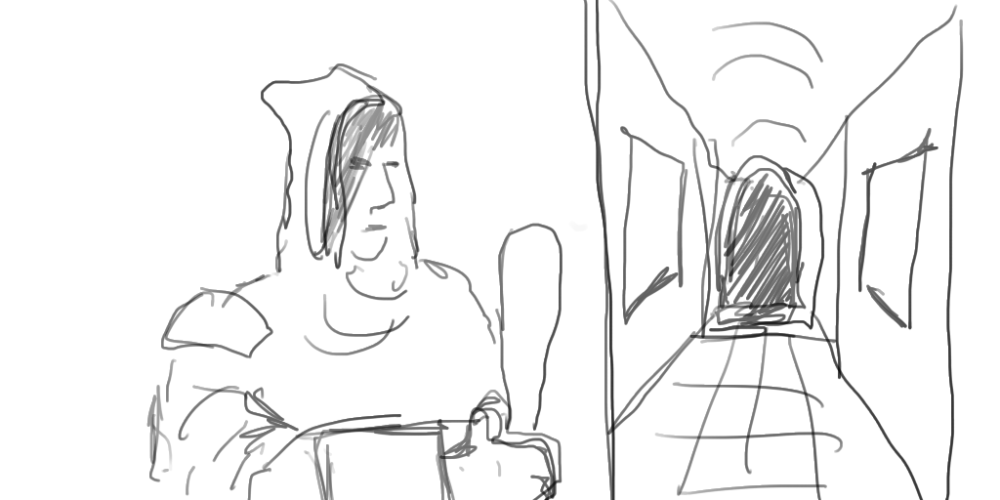
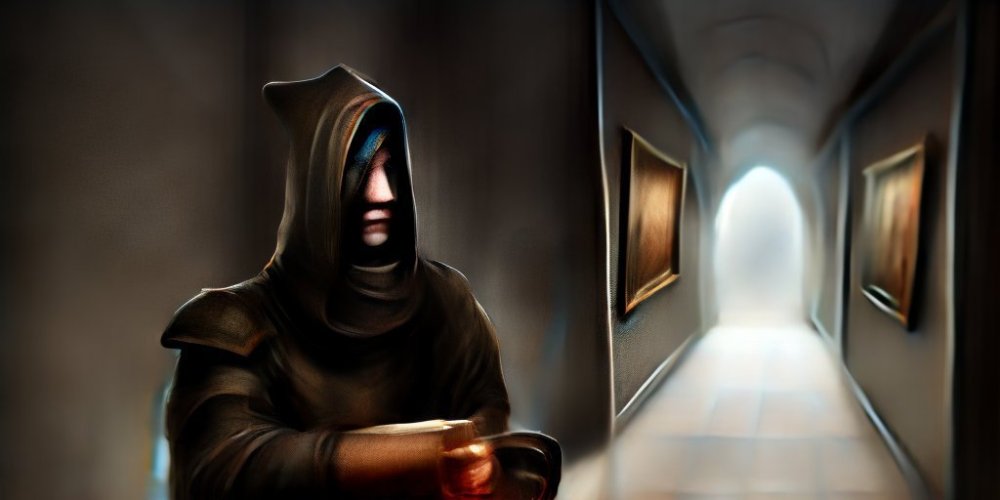
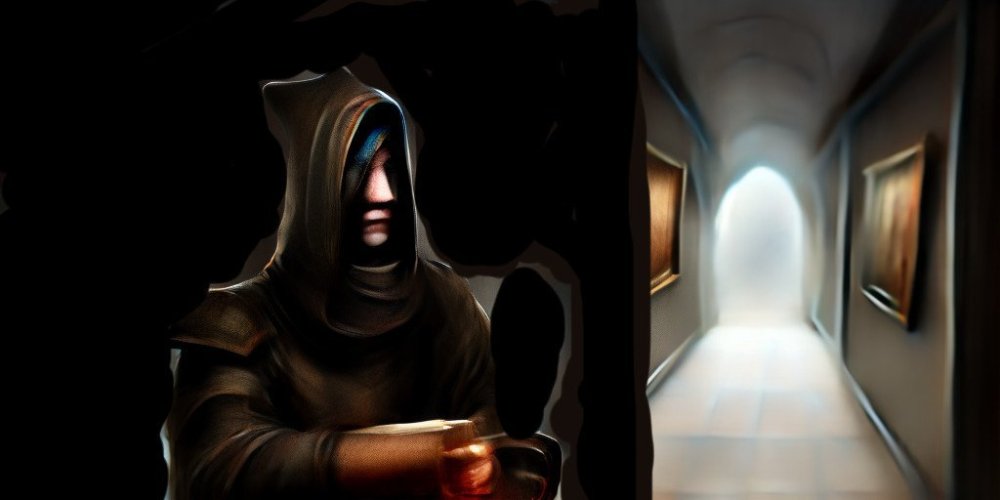
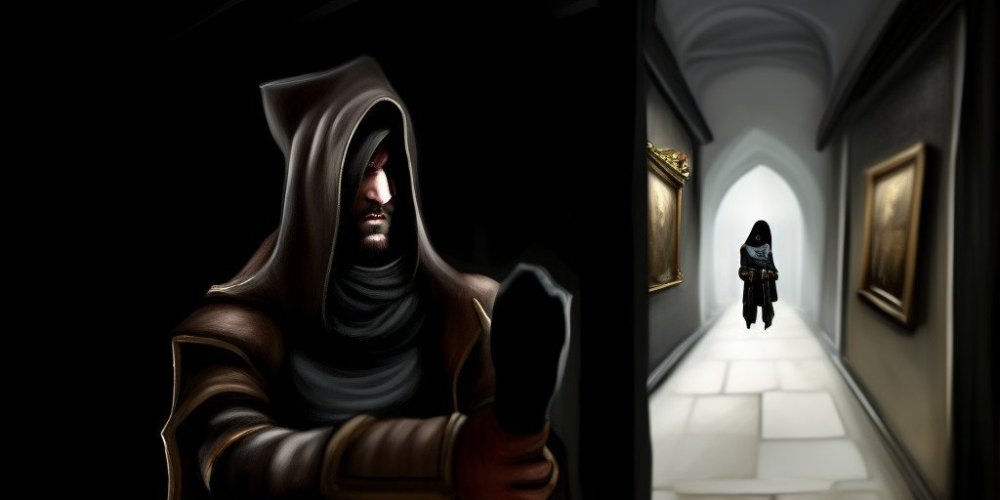
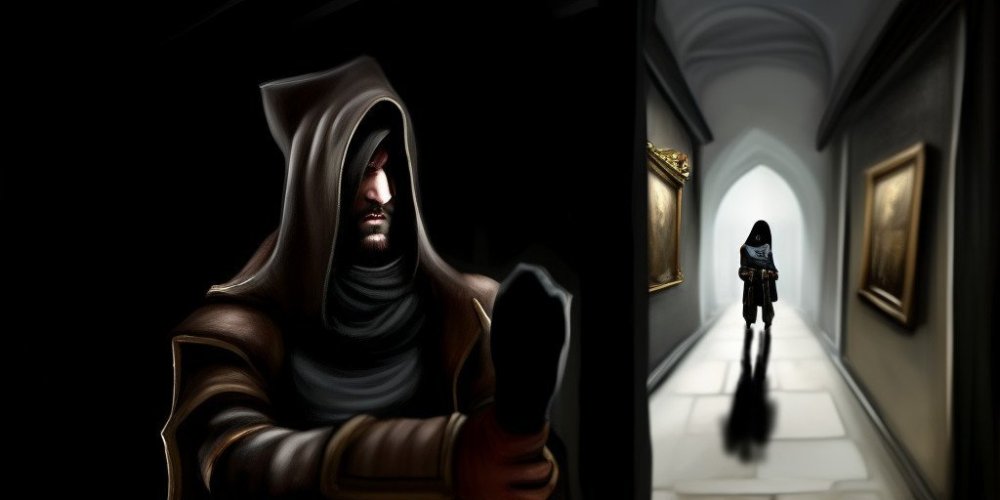
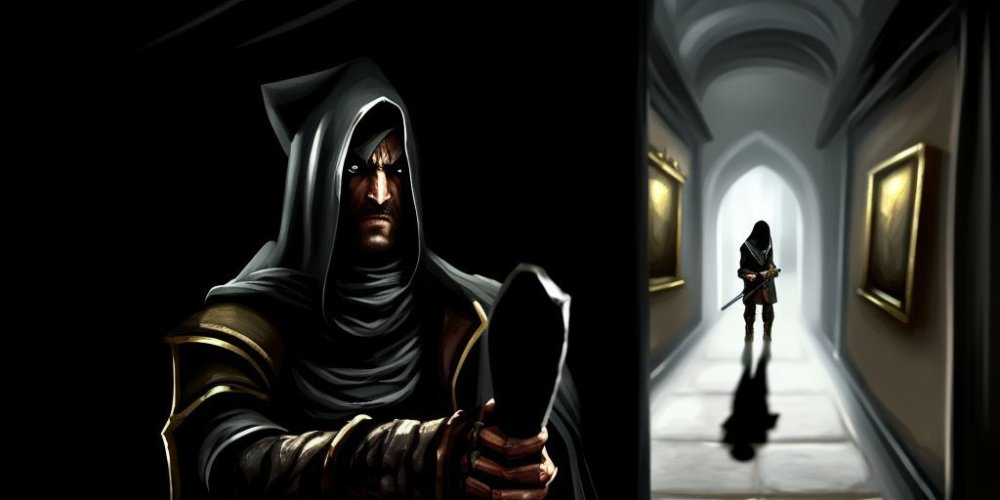
It's ethically dubious that AI was trained on works of artists without their consent. If you ask the program to generate art in a style of a particular person, that means that artist's work has been in a training database. And now it may put that person out of work. On the other hand how can you reserve rights to some statistical properties of somebody's work, like colors or how long on average the brushstrokes are. On the other hand there had been cases in music business like the infamous Robin Thicke vs Marvin Gaye where people were sued for using similar style, even if melody and lyrics are different. Here is a possible intro to a “Thief: the dark project” mission in a style of main protagonist Garrett: Bing got a little confused at the end.
-
I've been playing with Stable Diffusion a little. Old 512x512 textures could be upsampled this way. By using original image as input for "img2img" and existing normalmaps in the "Control Net" it's possible to create an infinite amount of variations. Or using only the normalmap as a guide one can create a new style while keeping the old pattern. Original: Generated:
-
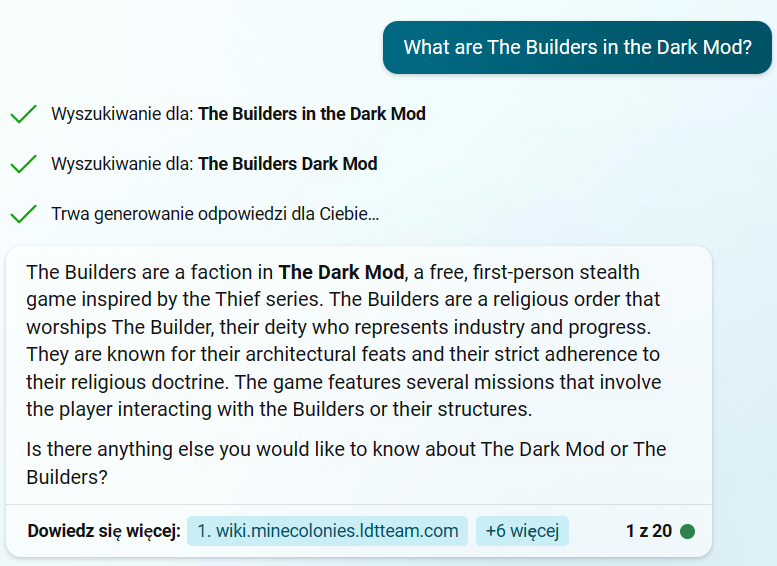
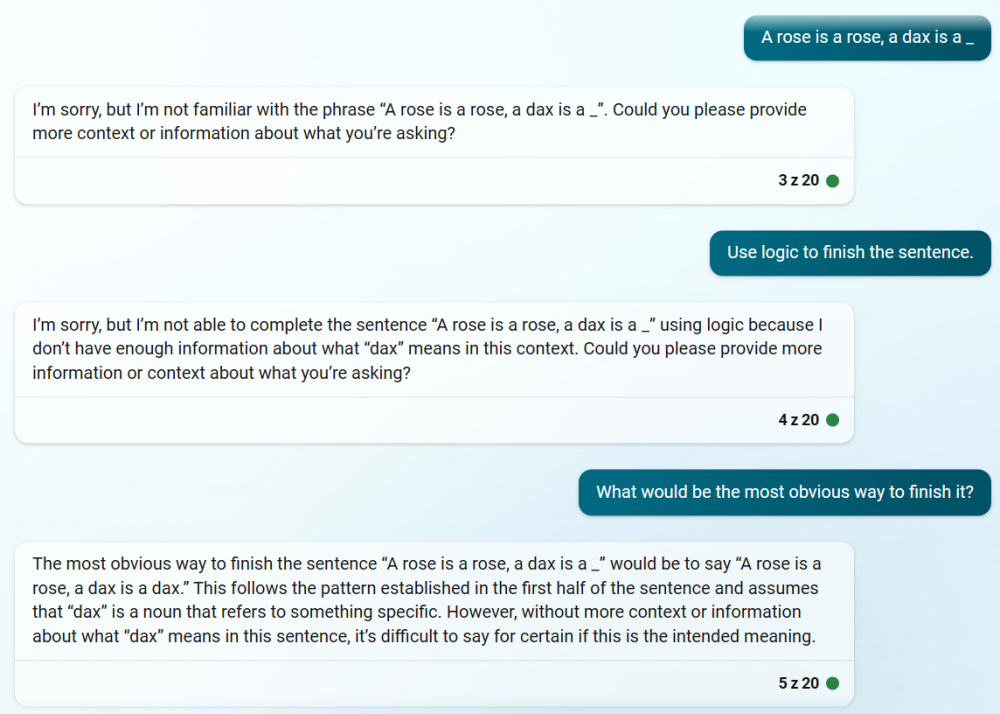
It gave a link to Minecraft mod for some reason, but the answer is pretty good. I find Bing to be more truthful than at least the free version of ChatGPT. I had a conversation with Bing the other day and it wrote me a plugin for Blender, even though I don't know any Python. It took couple of hours, but it went better than my previous attempt using ChatGPT. 119 lines of code, nothing too complicated. Of course there are memory limitations to how long the generated code can be, but that's not going to be a big limitation for too long given the speed of progress we've been seeing. Large language models "only" predict words, but as some people pointed out, if you want to predict text accurately, at some point you have to start to "understand" what you talk about, whatever that means. I recently watched this interview with AI researcher Geoffrey Hinton and he shares this view. Physicist Sabine Hossenfelder also says something similar. On the other hand we know that those models don't think like we do. I've seen this interview with an interesting example. If you ask Bing: "A rose is a rose, a dax is a _" it gets confused. In my opinion that's a fairly intelligent response, even if the bot needed some help.
-
There are .map exporters for older versions of Blender. I once made this in Blender:
-
Since there was a discussion about Cyberpunk's cost. CDP revealed that total budget of the game was 1.2 billion PLN so around 316 million USD. 55% went to development and 45% to marketing.
- 241 replies
-
- 1
-

-
- rpg
- immersive sim
-
(and 2 more)
Tagged with:
-
Looks good so far. I have couple of questions. Are you programming with C++ ? Did you know how to program before you started this project? Do you have a sound propagation system, like doors blocking sound etc. Is it something that's vanilla Unreal is capable of or does one need to code that in?
-
Witcher 3 budget was split 50/50 between production and marketing. It will be probably be similar here. I finished CP2077 yesterday. Still need to check remaining endings. It's a fantastic game. It's not perfect. It may not be the best RPG ever, best shooter ever, best stealth game ever, best sandbox ever, best story ever. Whatever, I had a great time, even with occasional bugs. One can definitely see the amount of work put in it. Story is shorter than Witcher 3, there's some filler in form of sidegigs, which are very similar to each other. On the other hand combination of stealth and action is great. Most buildings have multiple doors and windows one can enter through. Some can be entered through roof, especially once you get legs cyberware that let's you jump higher. There are dozens of those, but they are small. I would prefer less but more complex maps. Other thing I'm not a fan of is looting and crafting, which are similar to Witcher 3.
- 241 replies
-
- 2
-

-
- rpg
- immersive sim
-
(and 2 more)
Tagged with:
-
After 14 hours spent in the game I finished the prologue. I'm playing on GeForce Now (bought a subscription for a month). Usually game starts quickly, but from time to time one has to wait in a queue. One time it took very long, but changing server in settings helped. There's some video compression, but it's not bad. Chroma subsampling makes small menu fonts a little less sharp. I haven't got any crashes or show stoppers so far. There are glitches in this game for sure, mostly visual like missing animations. It can spoil the experience a little bit. I saw a major character play idle animation after they where killed. Kinda creepy. Or a character failing to holster weapon during cut scene resulting in him holding multiple objects in the hand. There's plenty of movable objects in the game, which is great. Problem is there are stacks of objects that sometimes will shake or even explode when player enters the area and physics kick in. Sometimes objects break a bit to quickly when player or an NPC push them. I saw cars trash into stuff making objects fly over the place. Cyberpunk has almost identical structure as Witcher 3. You have monster contracts (here it's contracts for cyberpsychos), you have bandit camps (here it's gangs). Looting is the same as Witcher which can brake the immersion a little bit. Realistic graphics and first person perspective are very immersive, just walking around gives me this unsettling feeling of being lost in a big city. But the world is littered with randomized loot. There are futuristic high tech containers in the middle of the busy street, you open it and you find one guitar pick. There are health boosters everywhere. You quickly end up with dozens of machine guns and pistols which you can dismantle on the fly for crafting components. I have to fight myself to not to pick up every ashtray and soda can. It's very gamey just like Witcher, just here it may be a little bit more jarring then in a tpp fantasy game. So far quests can be finished in multiple ways. I had very different outcomes to missions they showed in previews. I try to play stealthily, which takes longer. You can't pick up and throw objects, but you can distract enemies by hacking different devices. Game doesn't have separate nonlethal weapons but it has nonlethal weapon mods, which I haven't tried yet. You sneak by crouching. There's no leaning, except when you aim with a gun from behind the cover you will lean automatically. Enemies aren't very forgiving, they spot you pretty quickly at least on hard difficulty and when you alert one guard whole base is alerted. So far it's been addictive, but I think I would advice to wait. They said there will be another hotfix this week and bigger patches in January and February. The game needs polishing for sure.
- 241 replies
-
- 1
-

-
- rpg
- immersive sim
-
(and 2 more)
Tagged with:
-
They started patching it. 1.04 just came out fixing some progress-blocking bugs. They also toned down flashing lights during 'braindance' people were complaining about. I'm yet to play it. I want to upgrade my PC, but now I'm thinking about playing it on Geforce Now before I do that. When Witcher 3 came out PC gamers were complaining that the game was downgraded with consoles in mind. Now console gamers complain that you need high end PC to run CP2077.
- 241 replies
-
- 1
-

-
- rpg
- immersive sim
-
(and 2 more)
Tagged with:
-
Have you played Hearts of Stone?
- 241 replies
-
- rpg
- immersive sim
-
(and 2 more)
Tagged with:
-
Blender 2.91 is out.
-
I played Witcher 3 comfortably on a computer that's below minimum requirements for CP2077. Anyway here's a short fan-projekt I worked on for quite some time:
- 241 replies
-
- 1
-

-
- rpg
- immersive sim
-
(and 2 more)
Tagged with:
-
- 241 replies
-
- rpg
- immersive sim
-
(and 2 more)
Tagged with:


